
To Deploy the token you need to install the metamask web extension on your chrome browser.
https://metamask.io/ visit there then click on download:

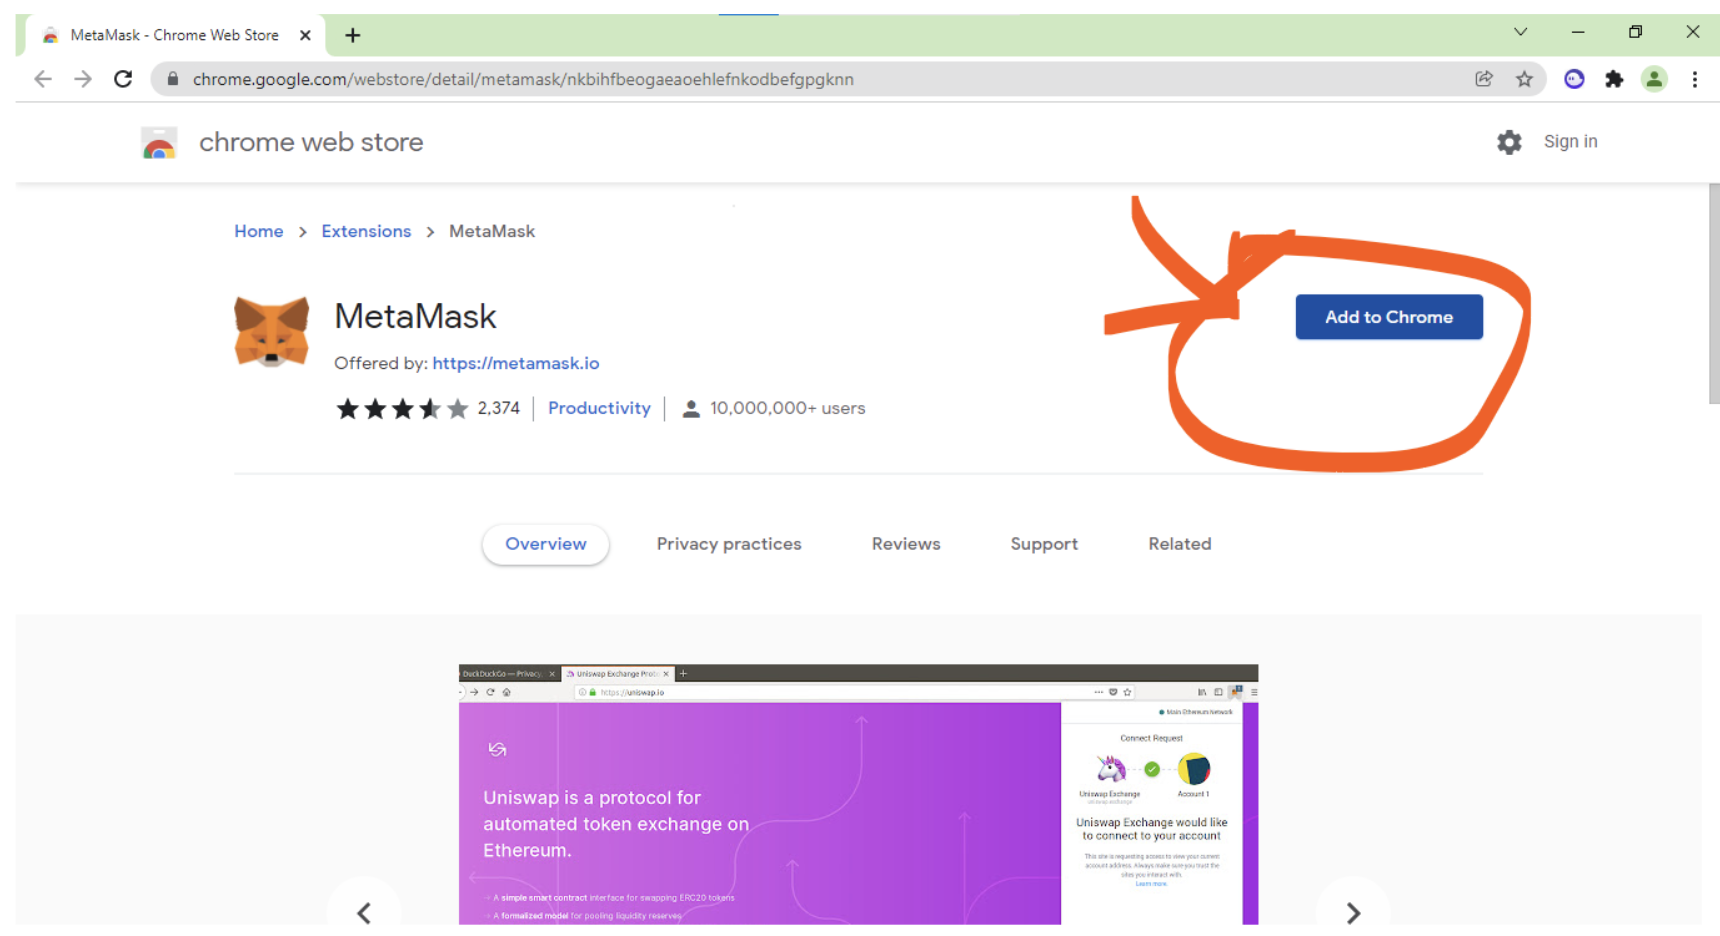
Then Install the Metamask form chrome:
https://chrome.google.com/webstore/detail/metamask/nkbihfbeogaeaoehlefnkodbefgpgknn
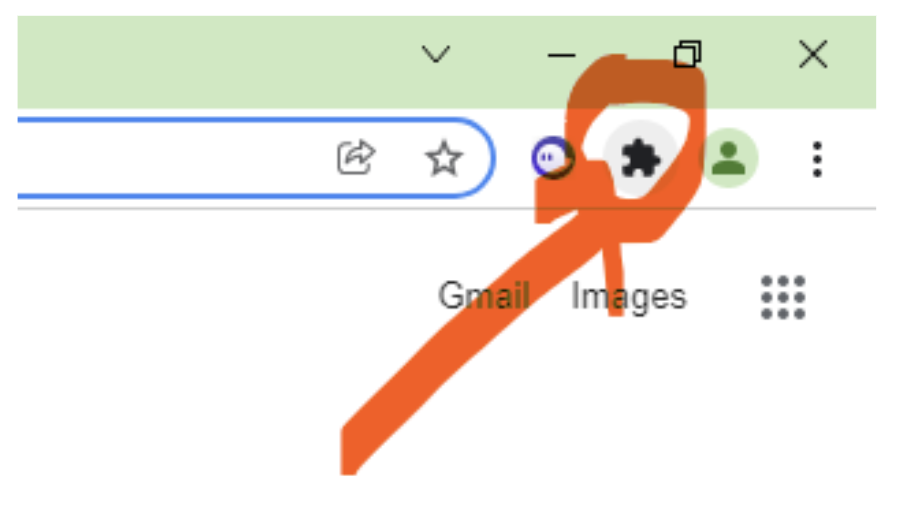
Once the download and install will be done automatically, you can see it inside the extension icon:
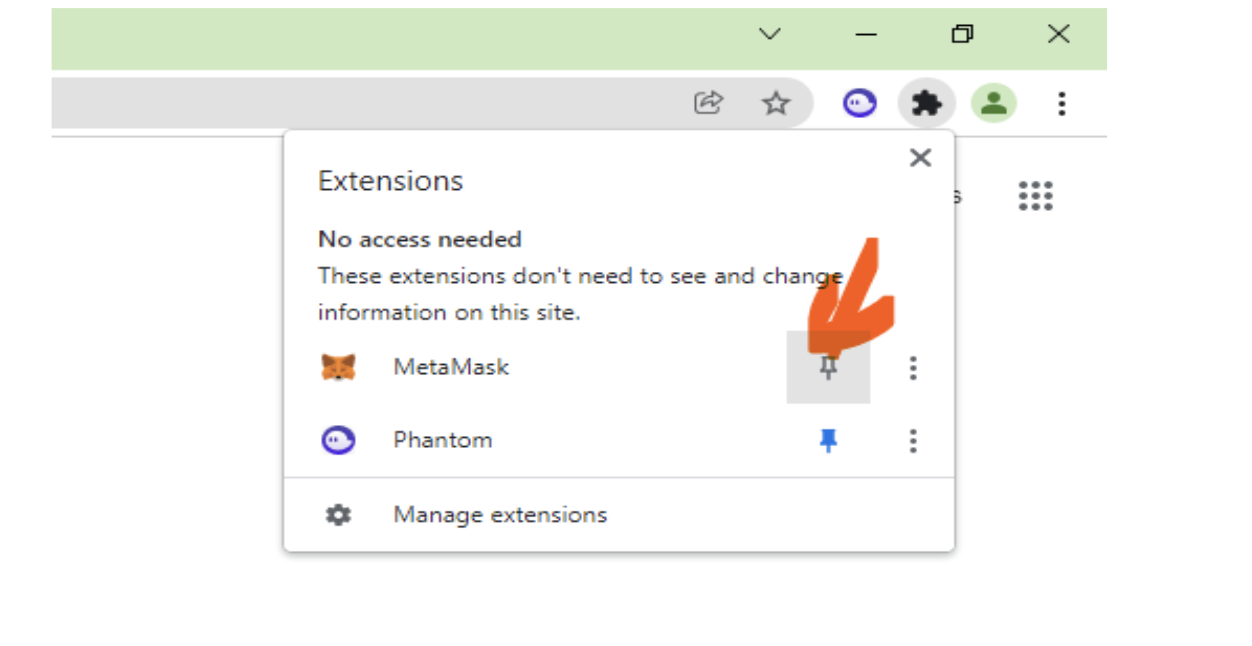
Pin The Extension For Easy Access:
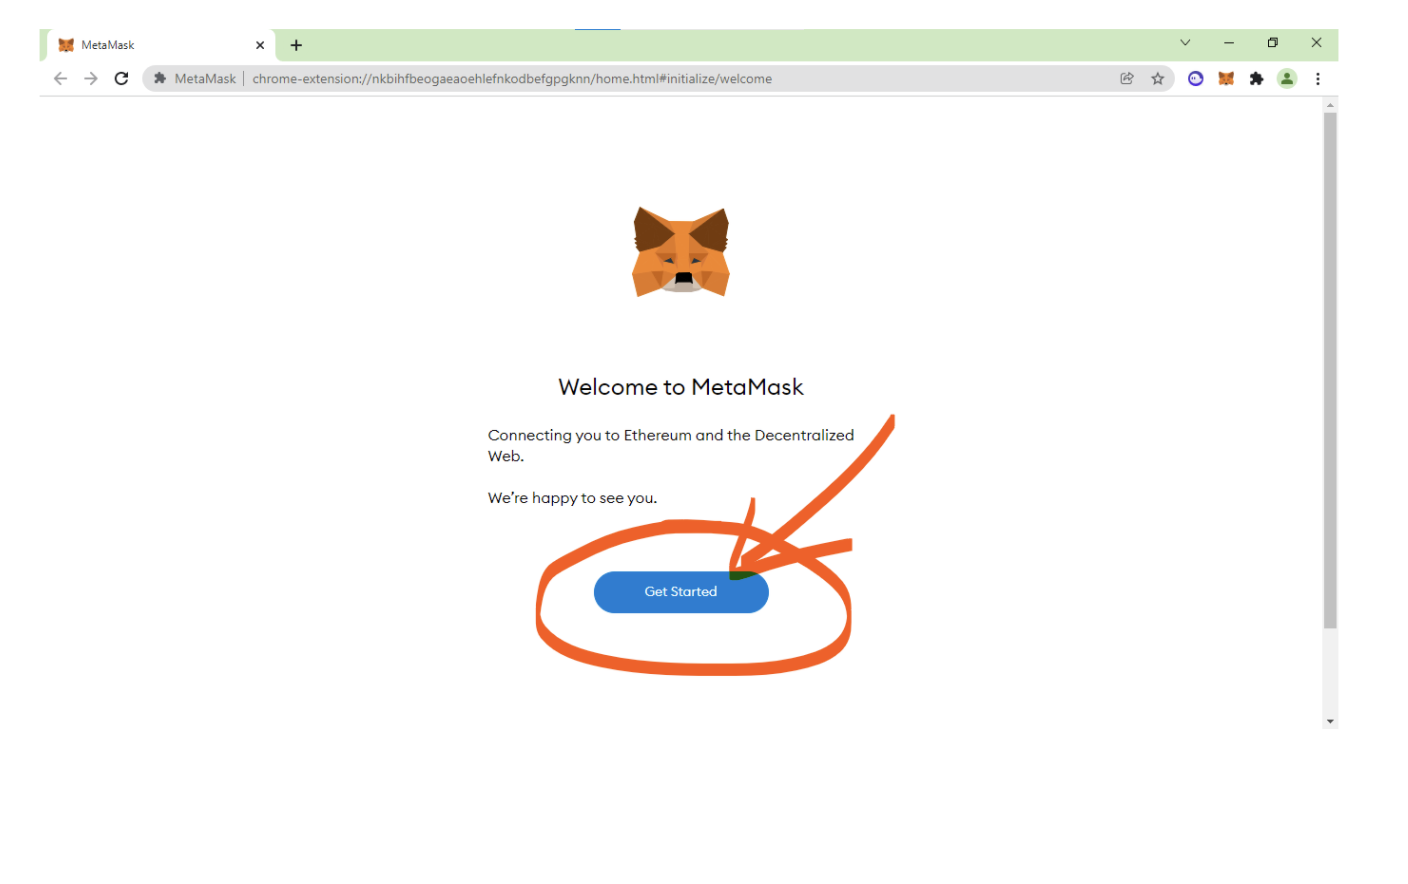
Now Click On the Icon and it will take you to the first time wallet setting option: On this page click on get started:
Then you will get 2 options. Create a new account or add an old account using the secret recovery phrase:
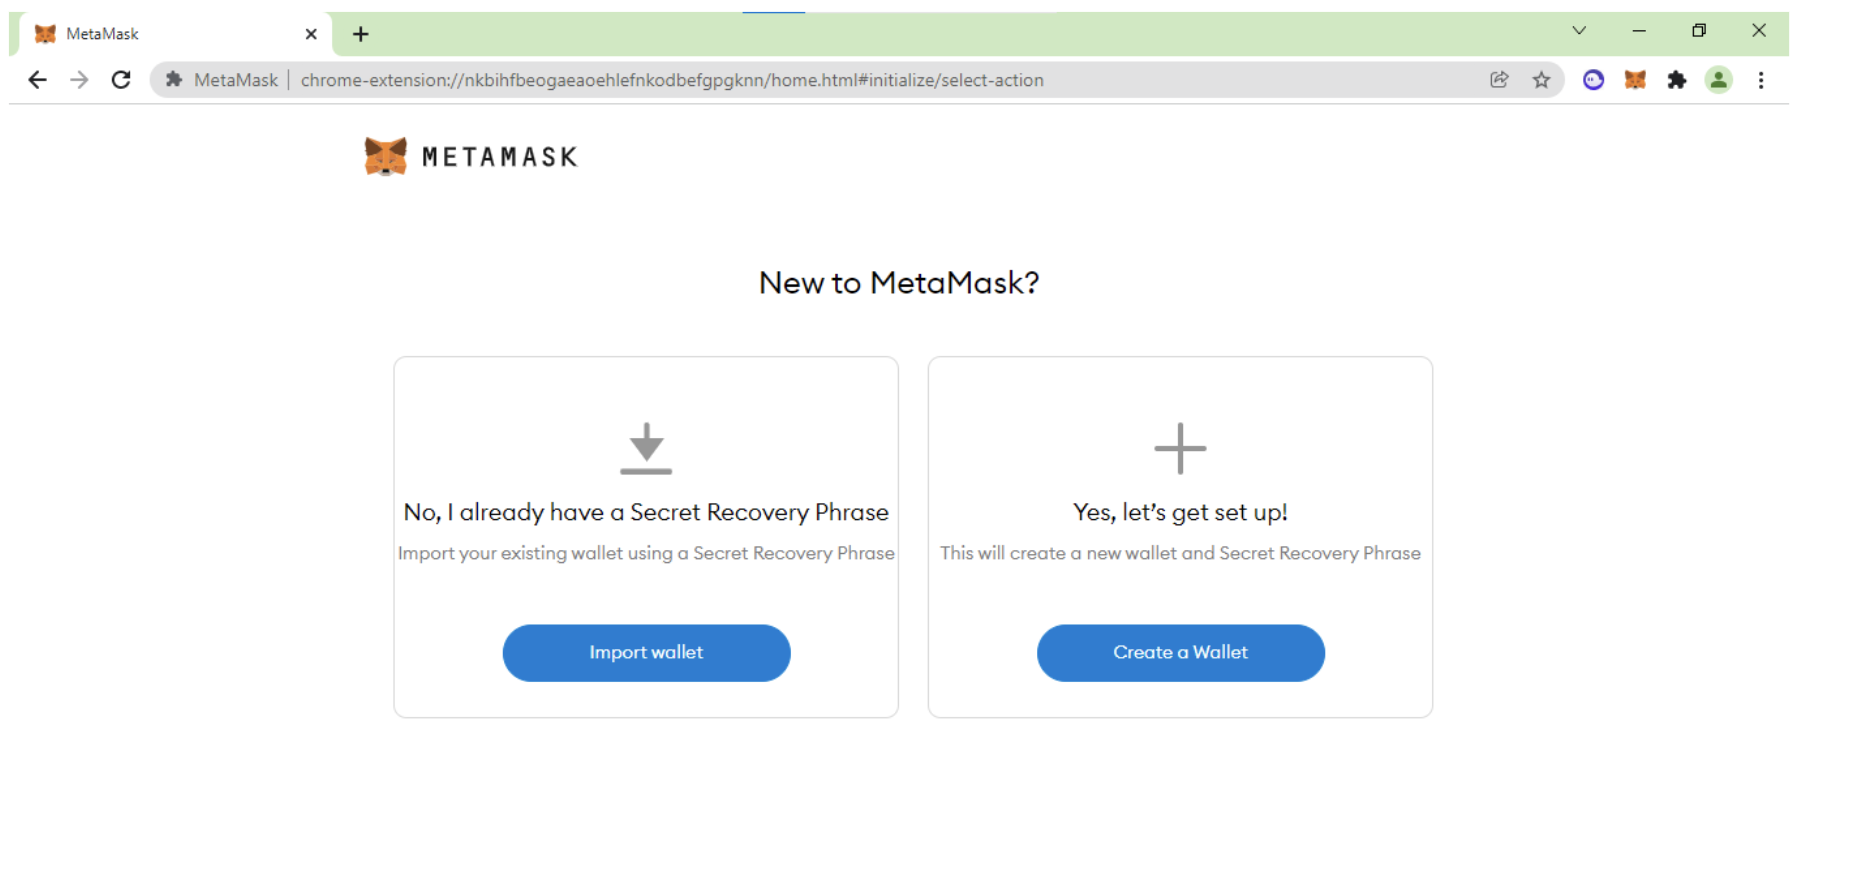
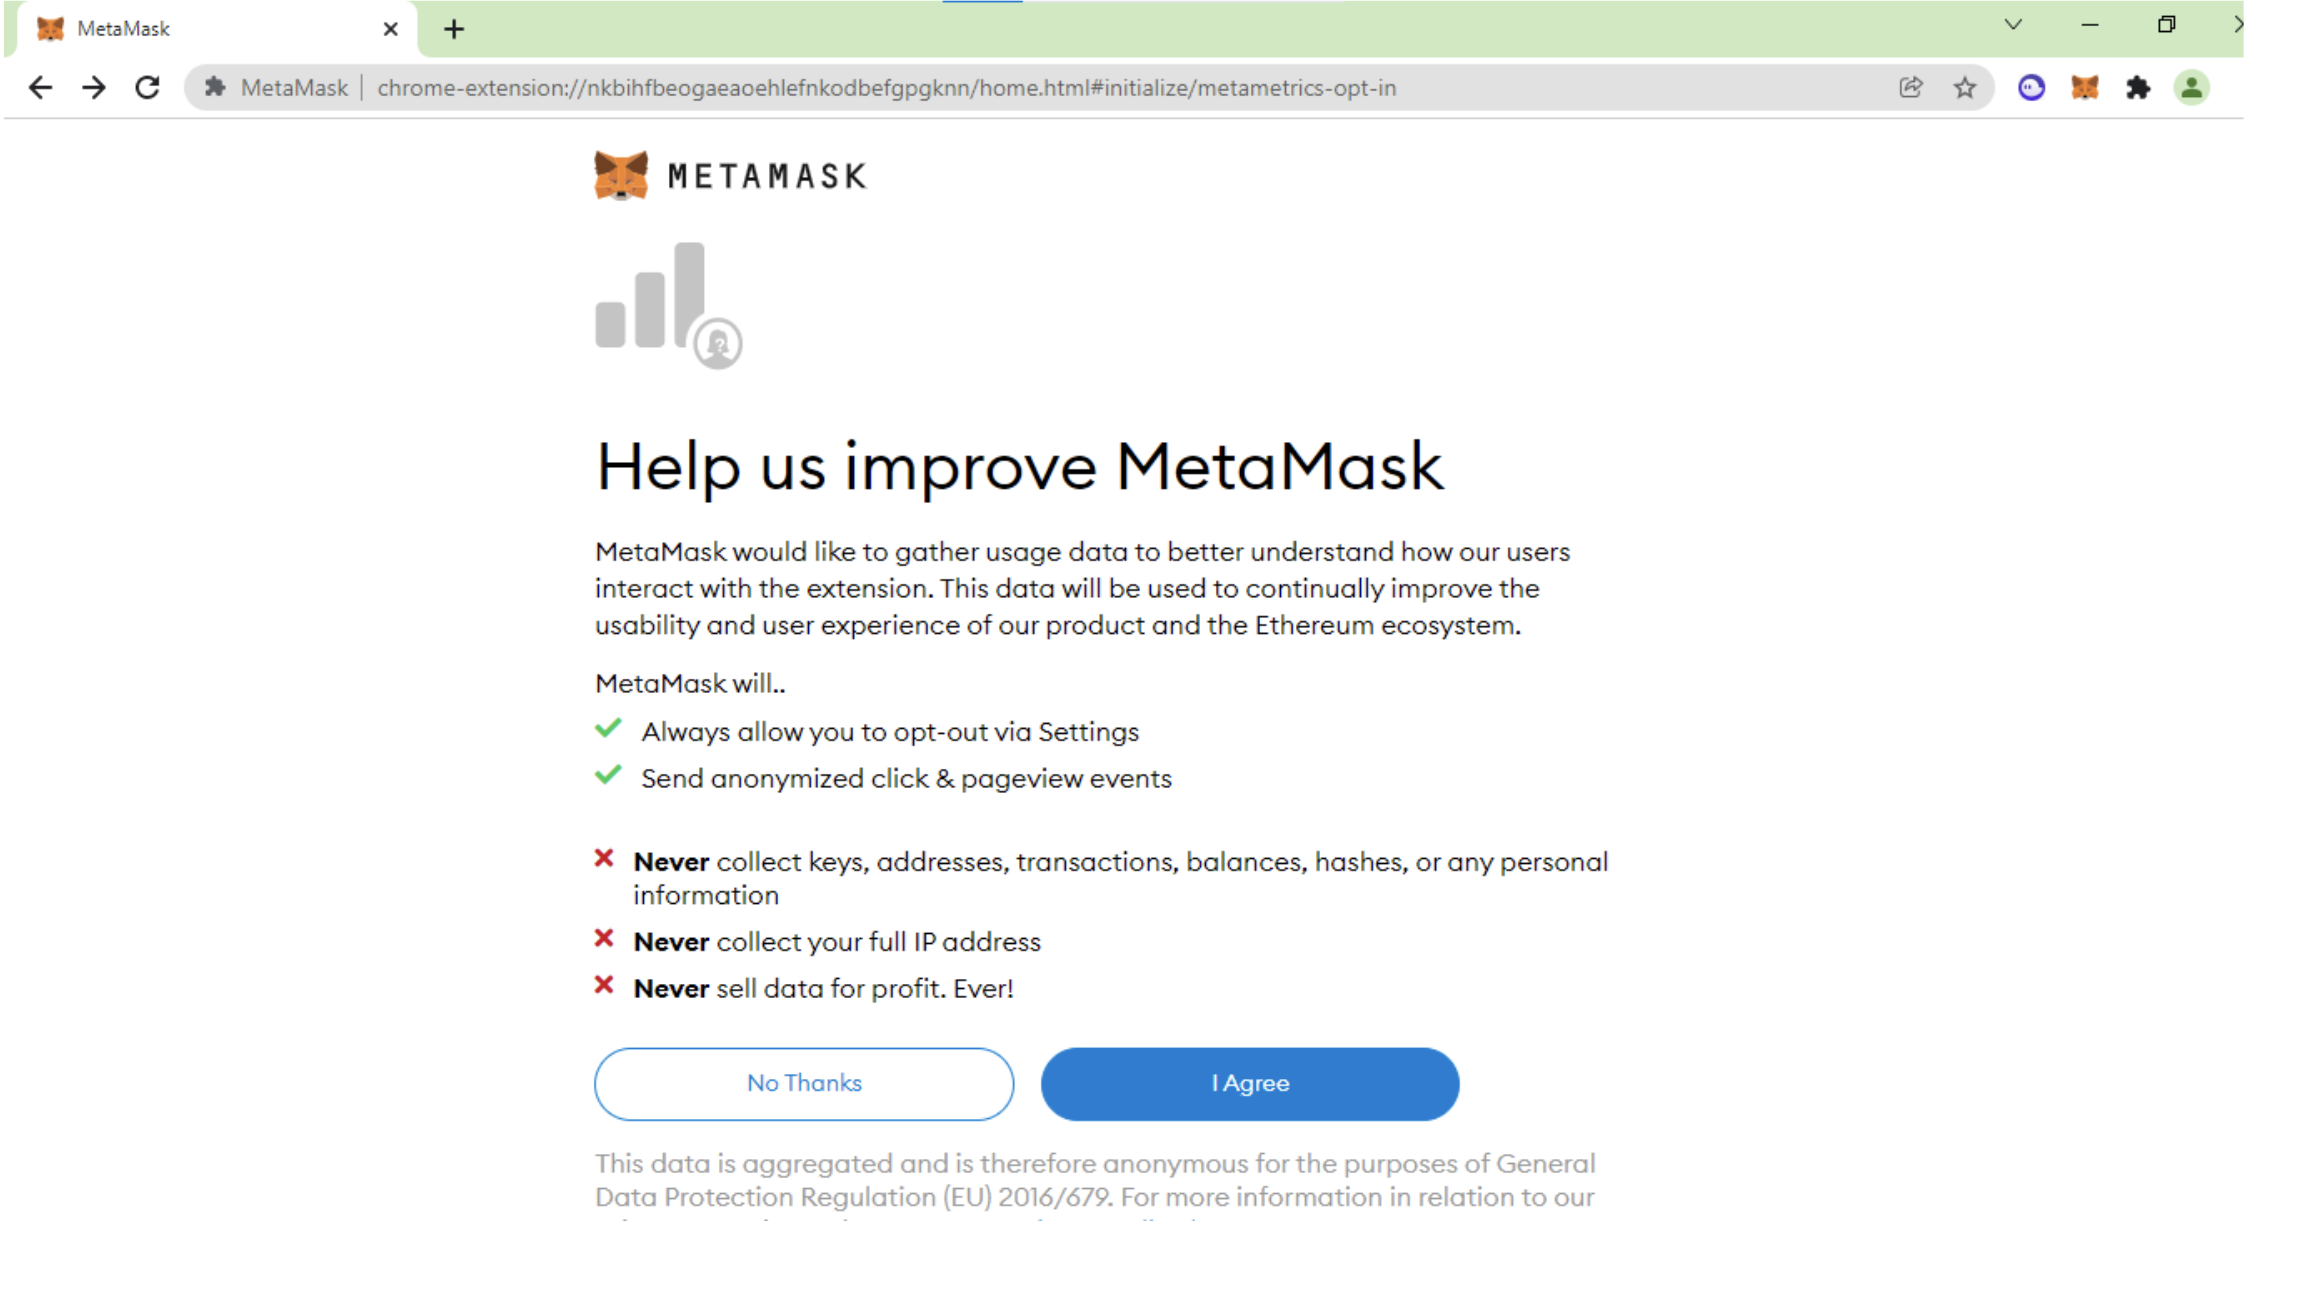
Then click on which one you want. Here I am selecting to create a new account. Then you will come to this page:
Here, select I agree :
On the next page, you need to create a new password. This password will need to access the metamask on this browser. So keep note of this in your notebook. Then give password and click on create:

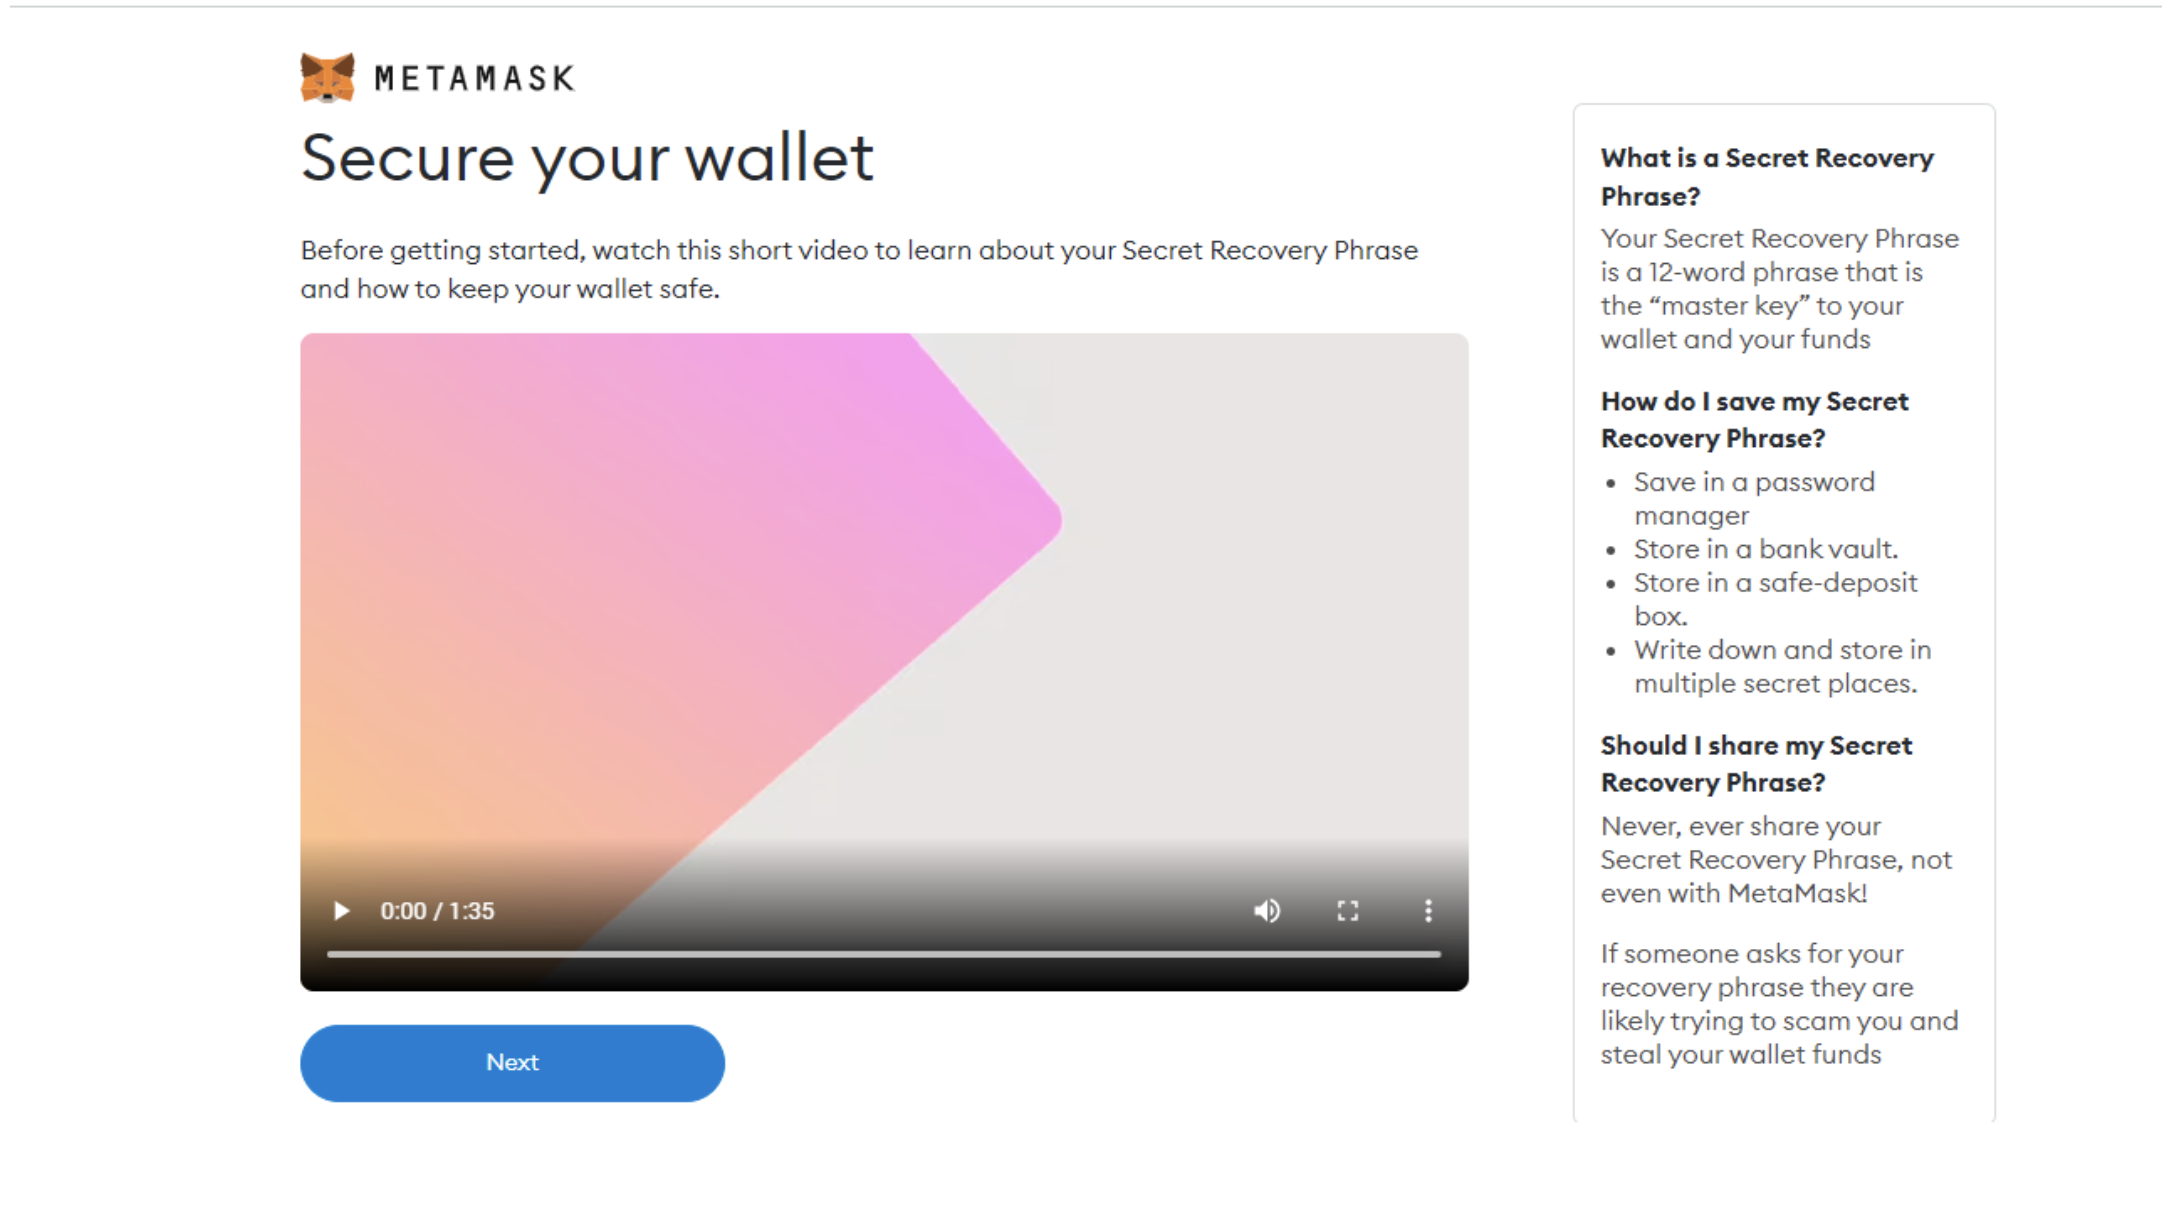
On next page, you can see the video, and you can watch it and click next:
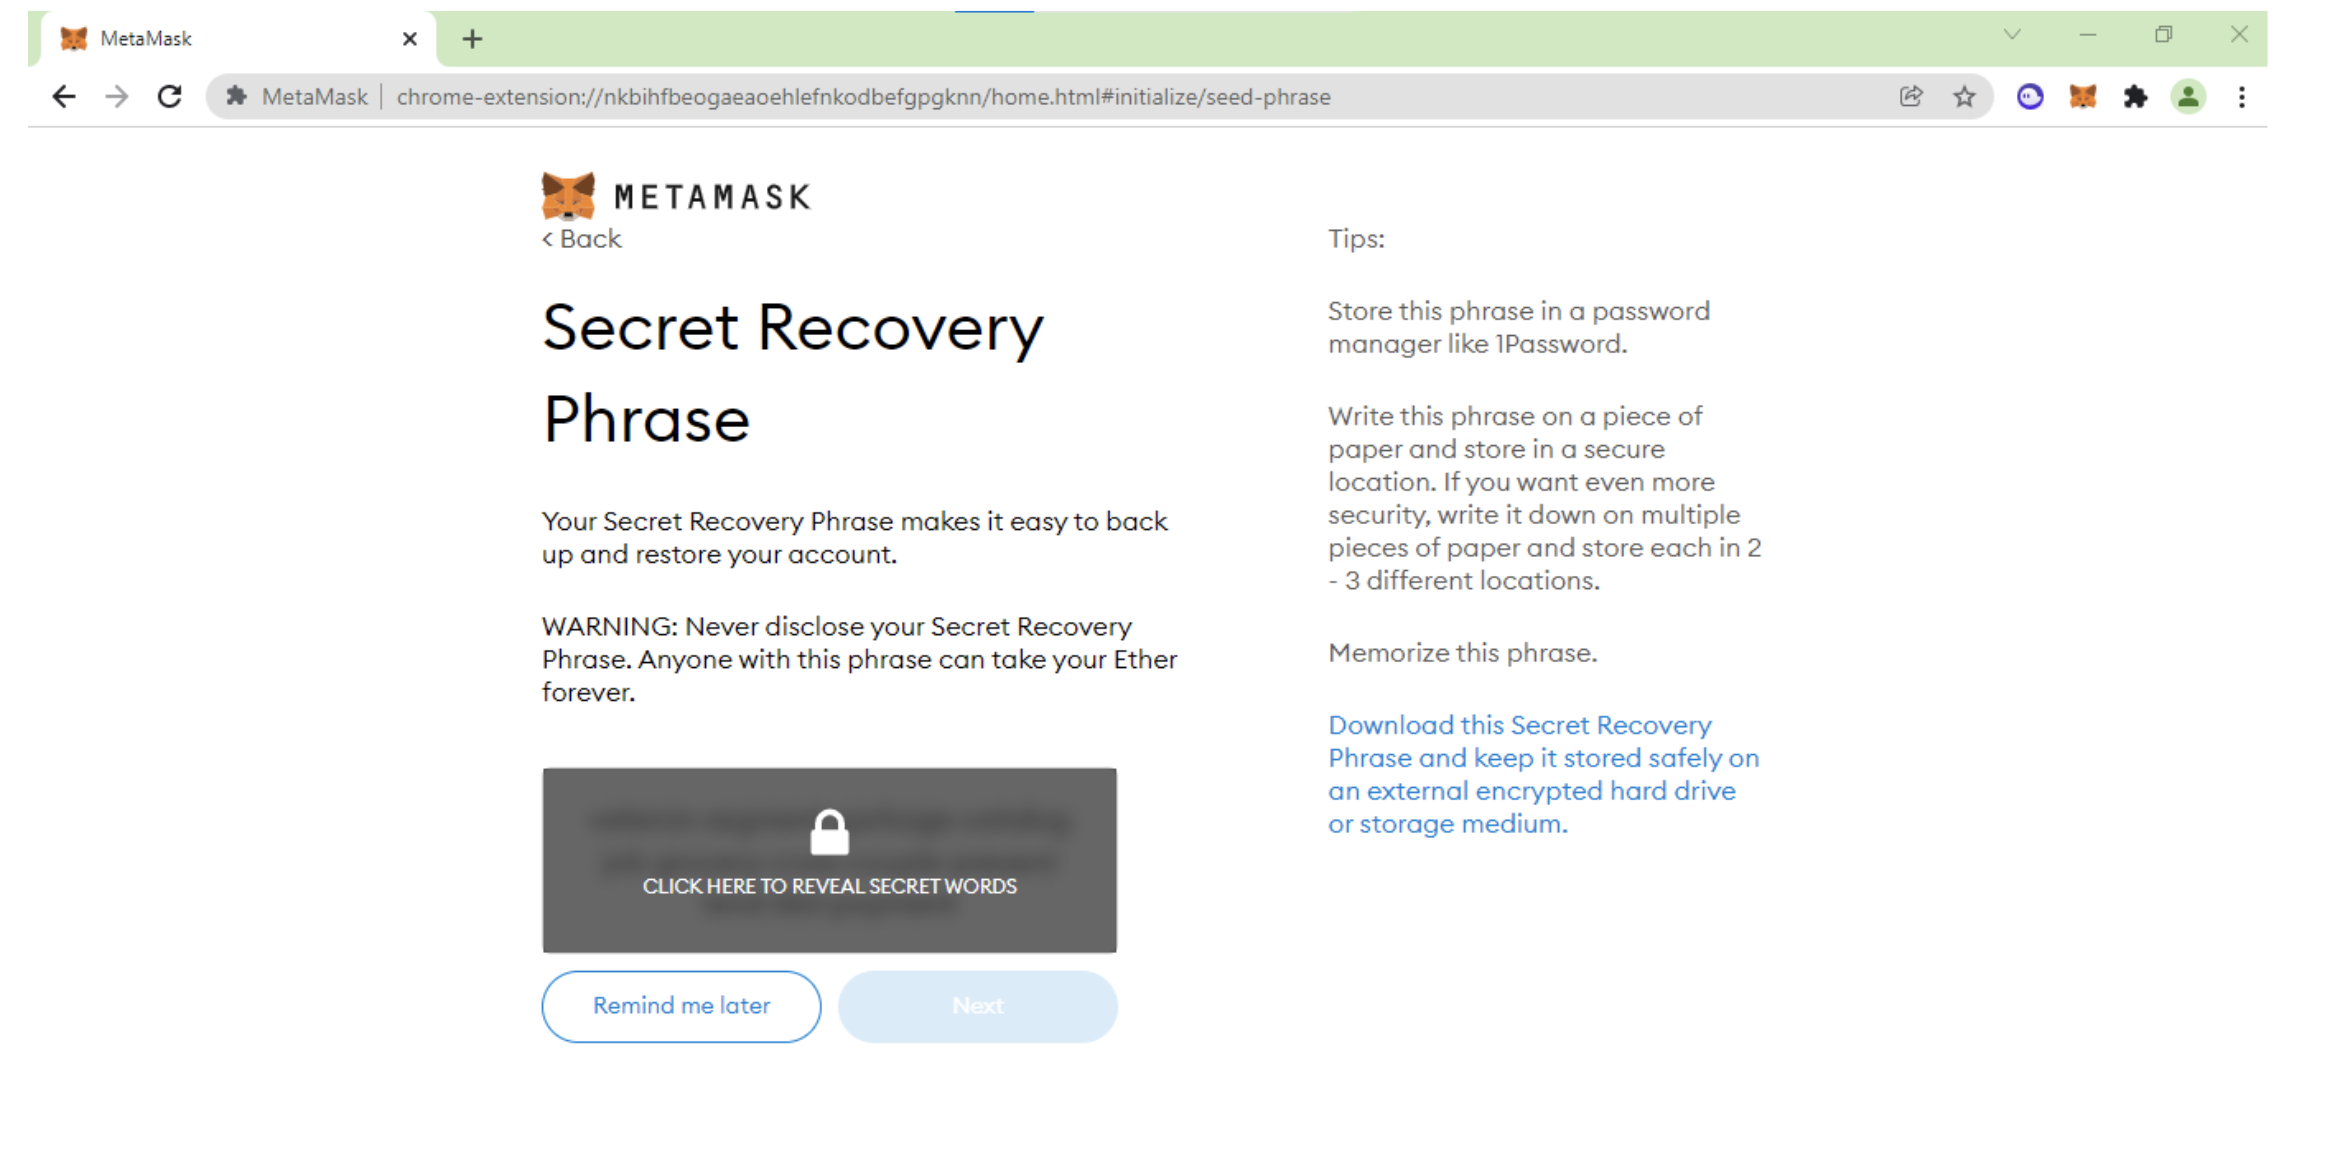
On the next page, you will see the secret recovery phrase. Write it down on a piece of paper. (ADD more here resecurity)
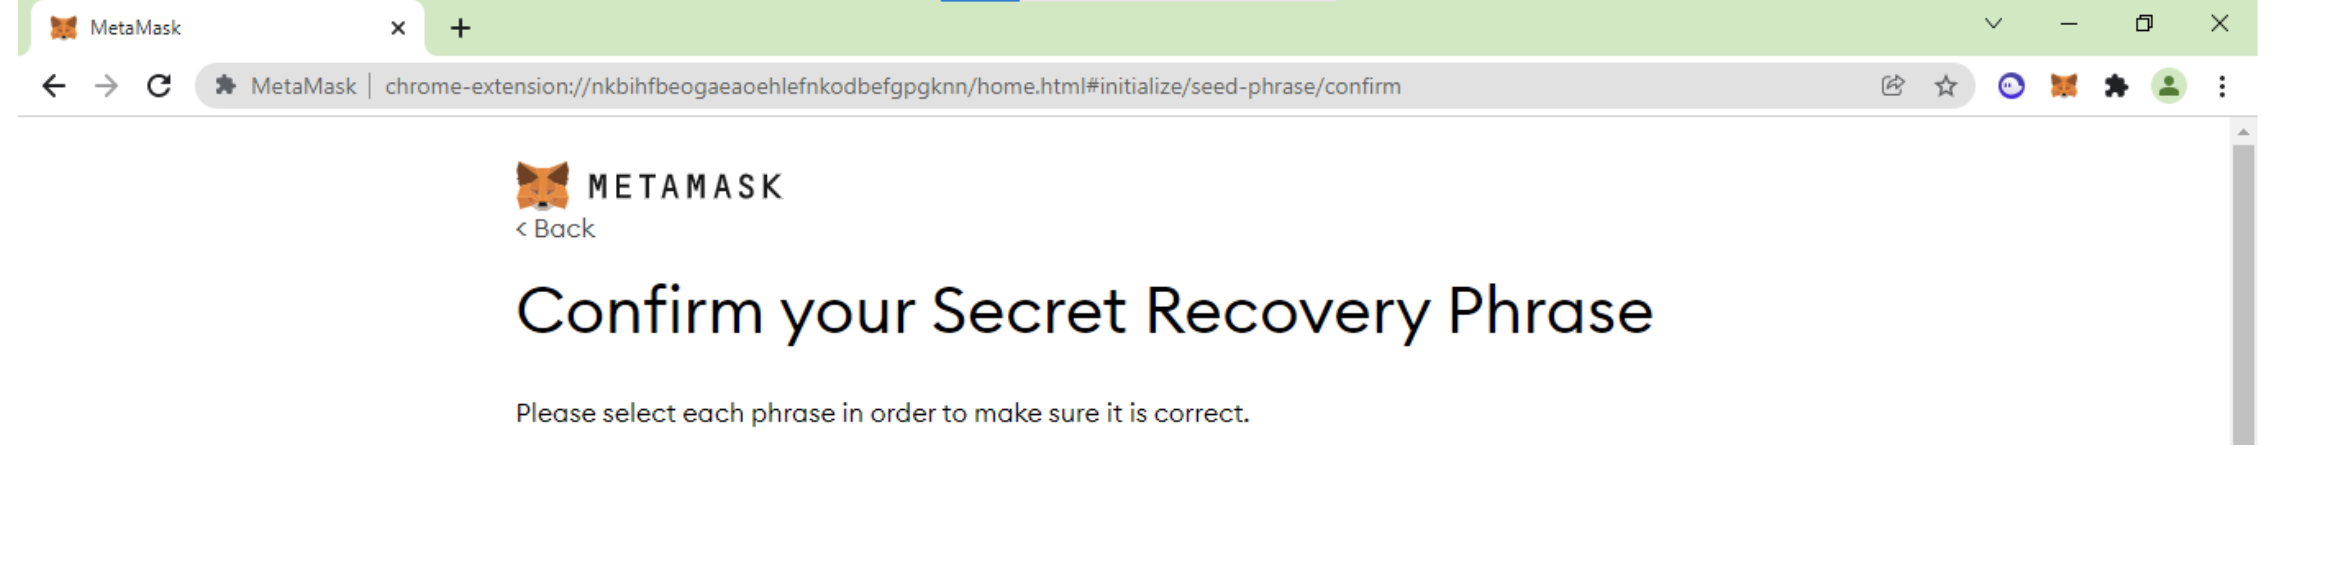
On next page, confirm it by selecting one by one
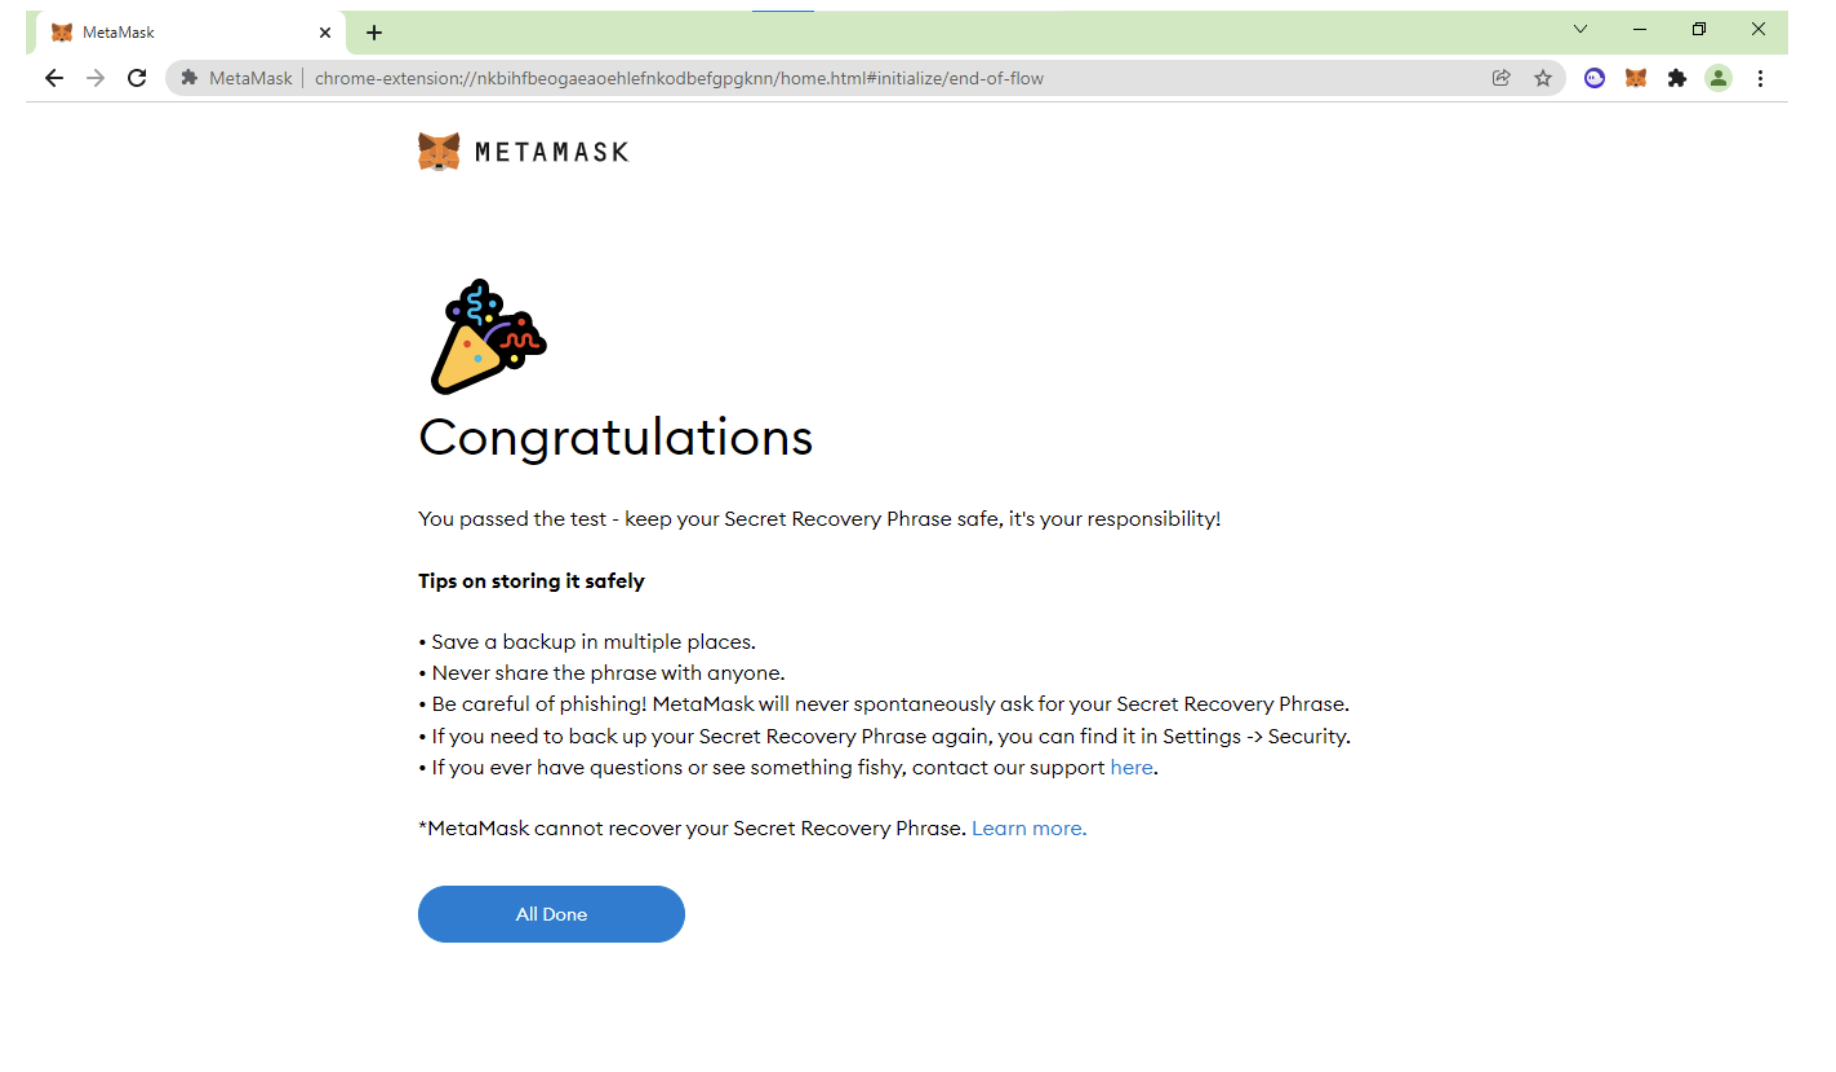
Then your setup will be done.
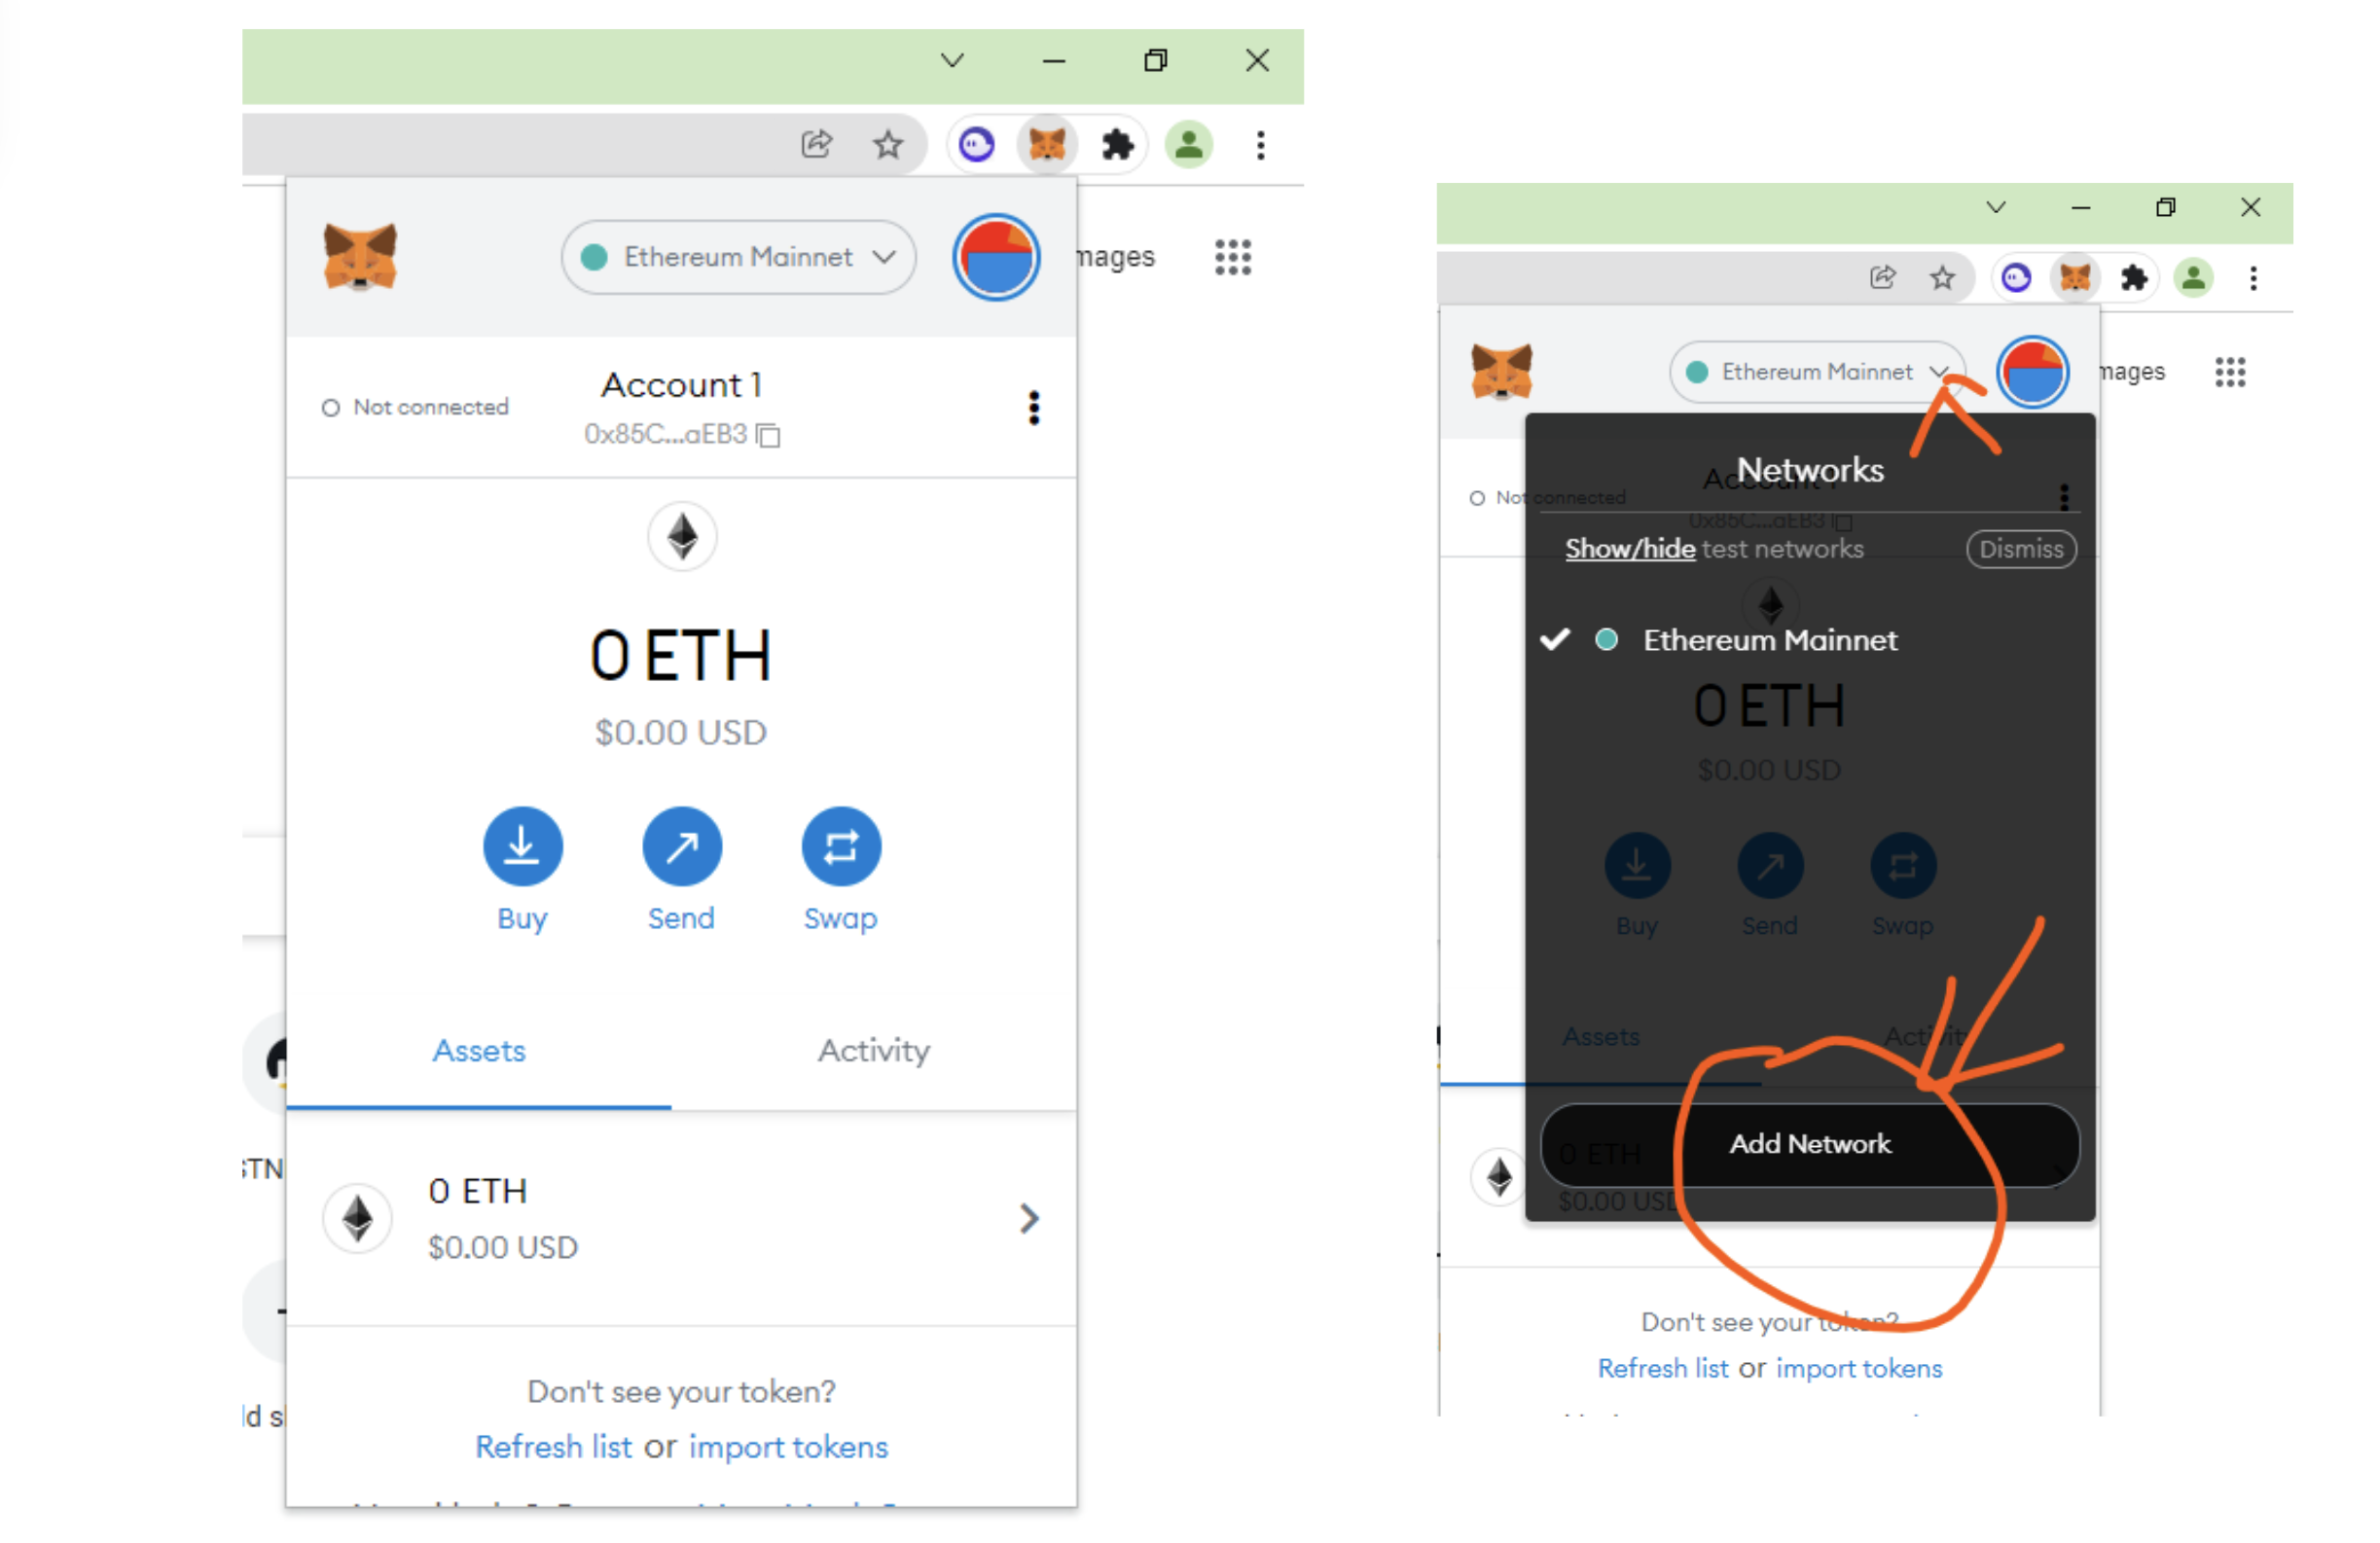
Now we need to add Binance Smart Chain In Metamask:
Add this information to the metamask add new network:
Network Name: Binance Smart Chain
New RPC URL: https://bsc-dataseed.binance.org/
ChainID: 56
Symbol: BNB
Block Explorer URL: https://bscscan.com
Note: This may not appear on all devices, such as Ipad.
Then fill in the information:
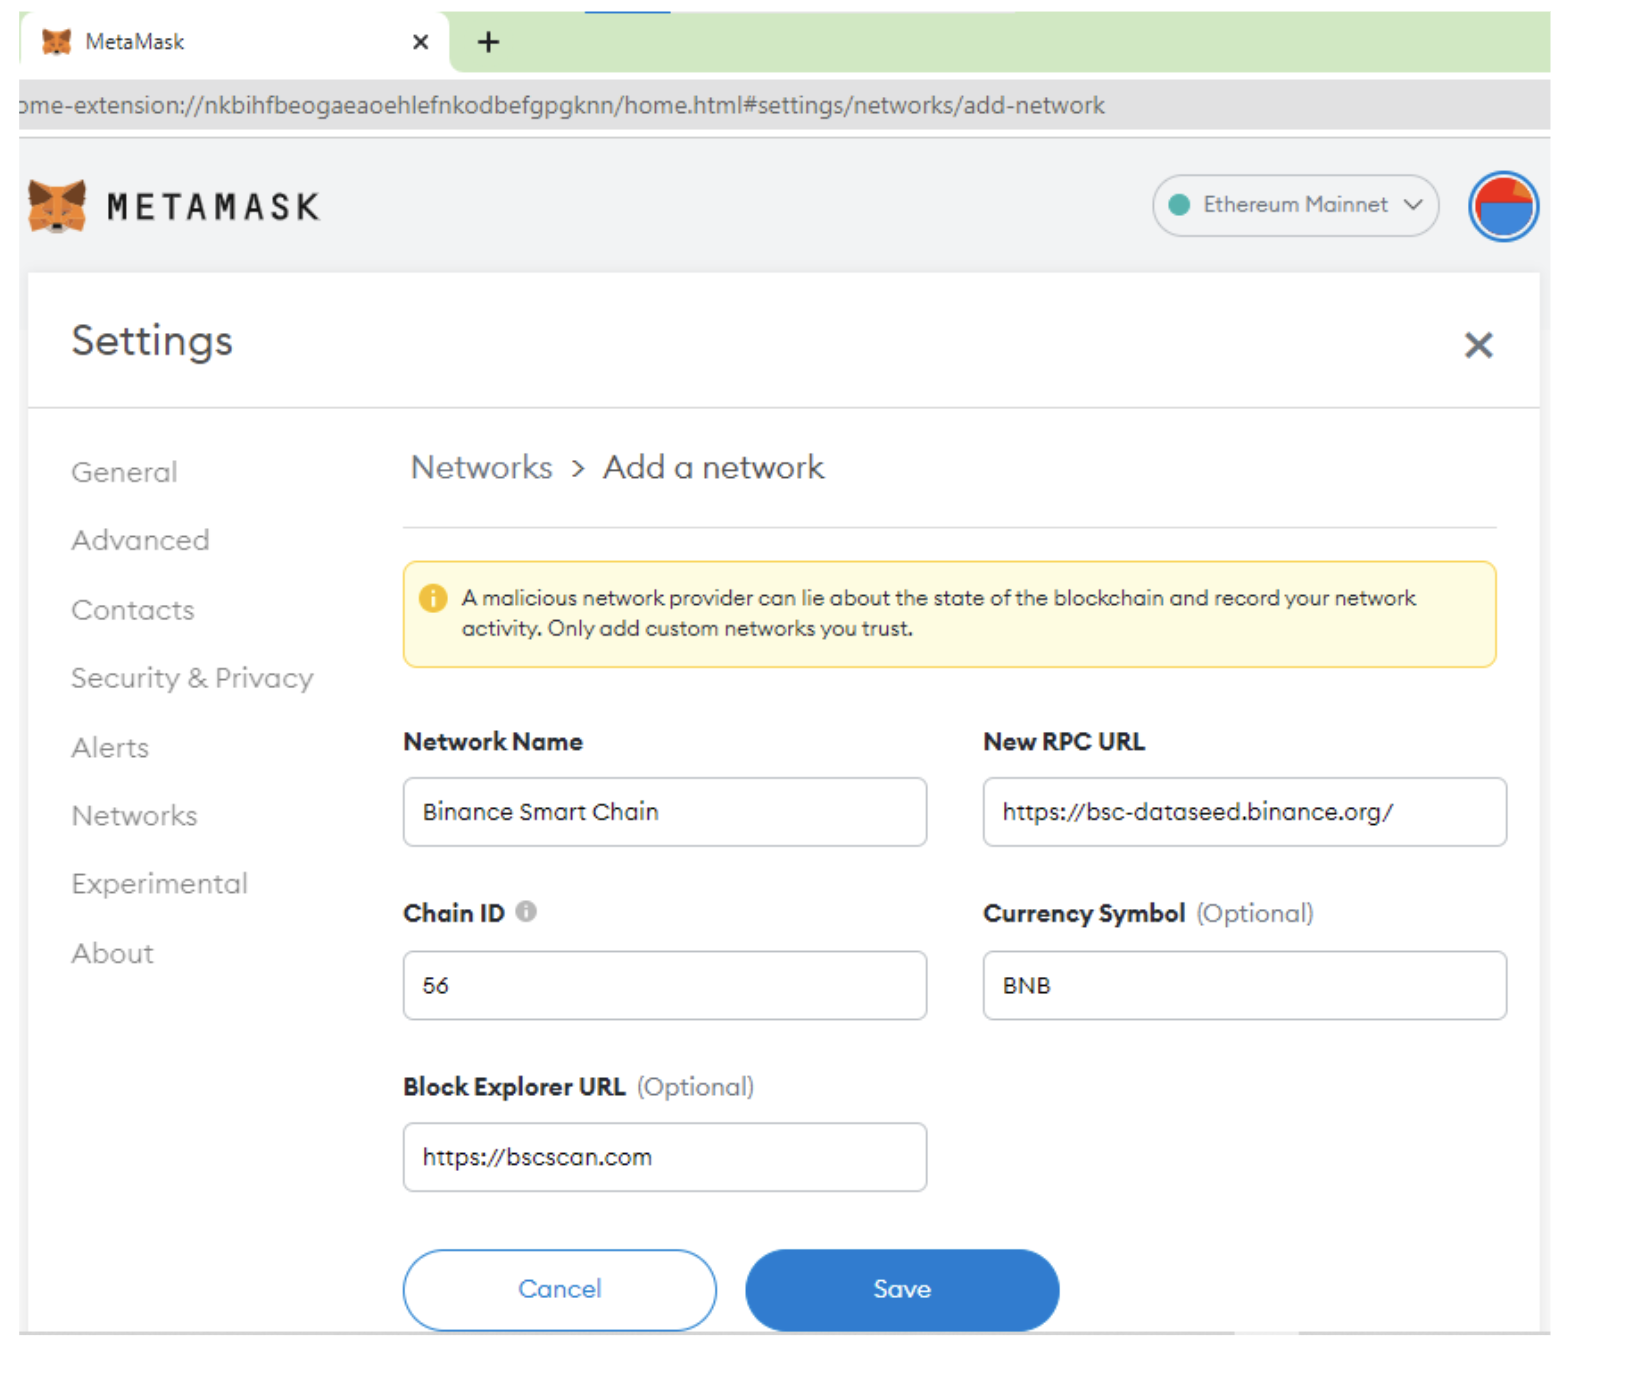
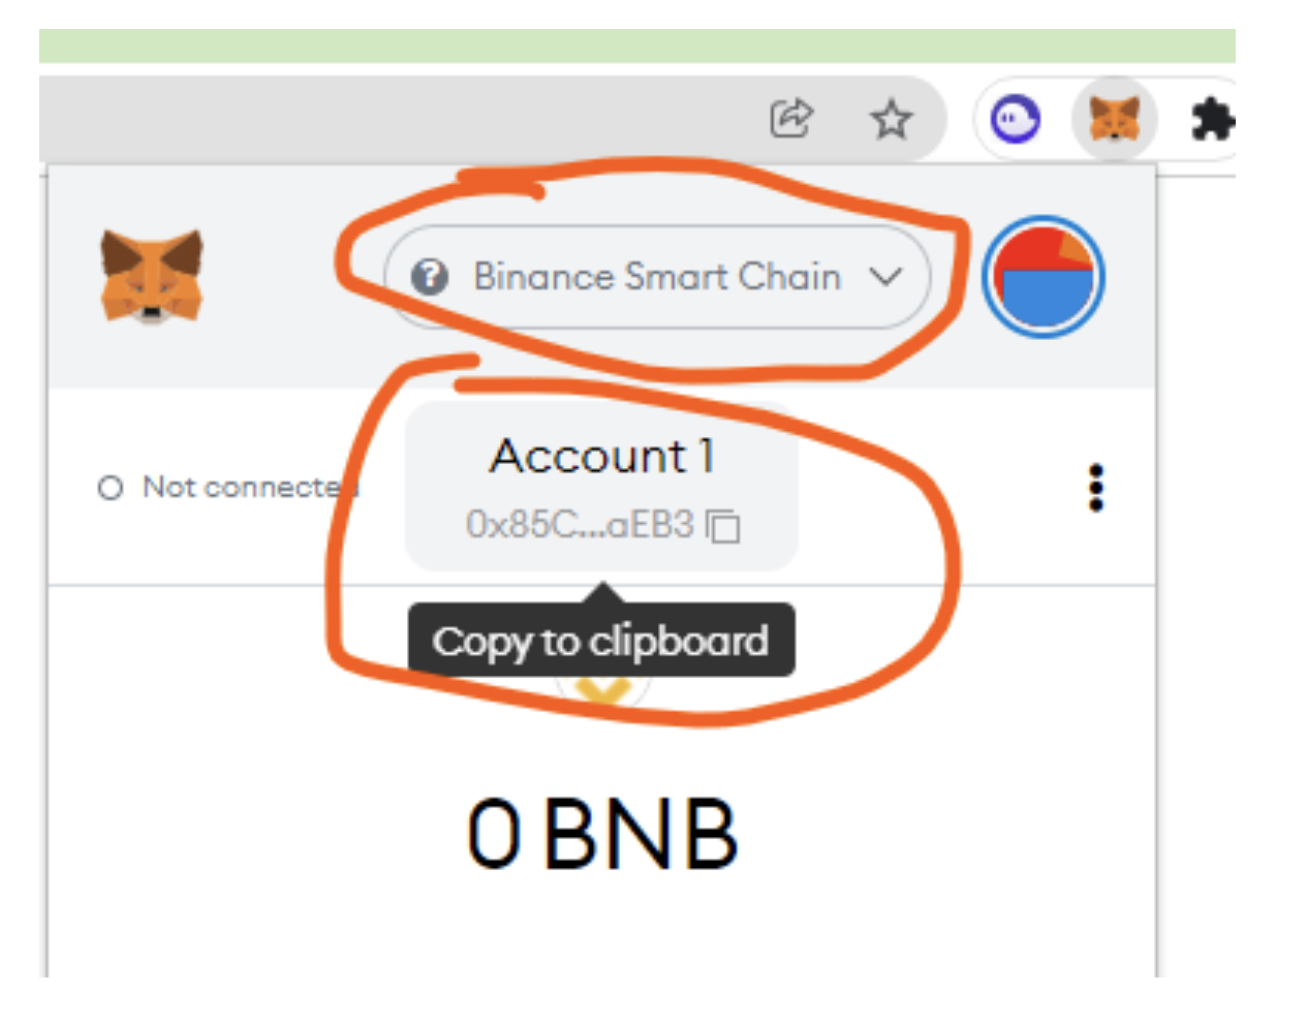
Then Save it. Will see a success message and the BNB Dashboard and also the network.

Now add the BNB to the account. To get the BNB address, click on the wallet account address 1:
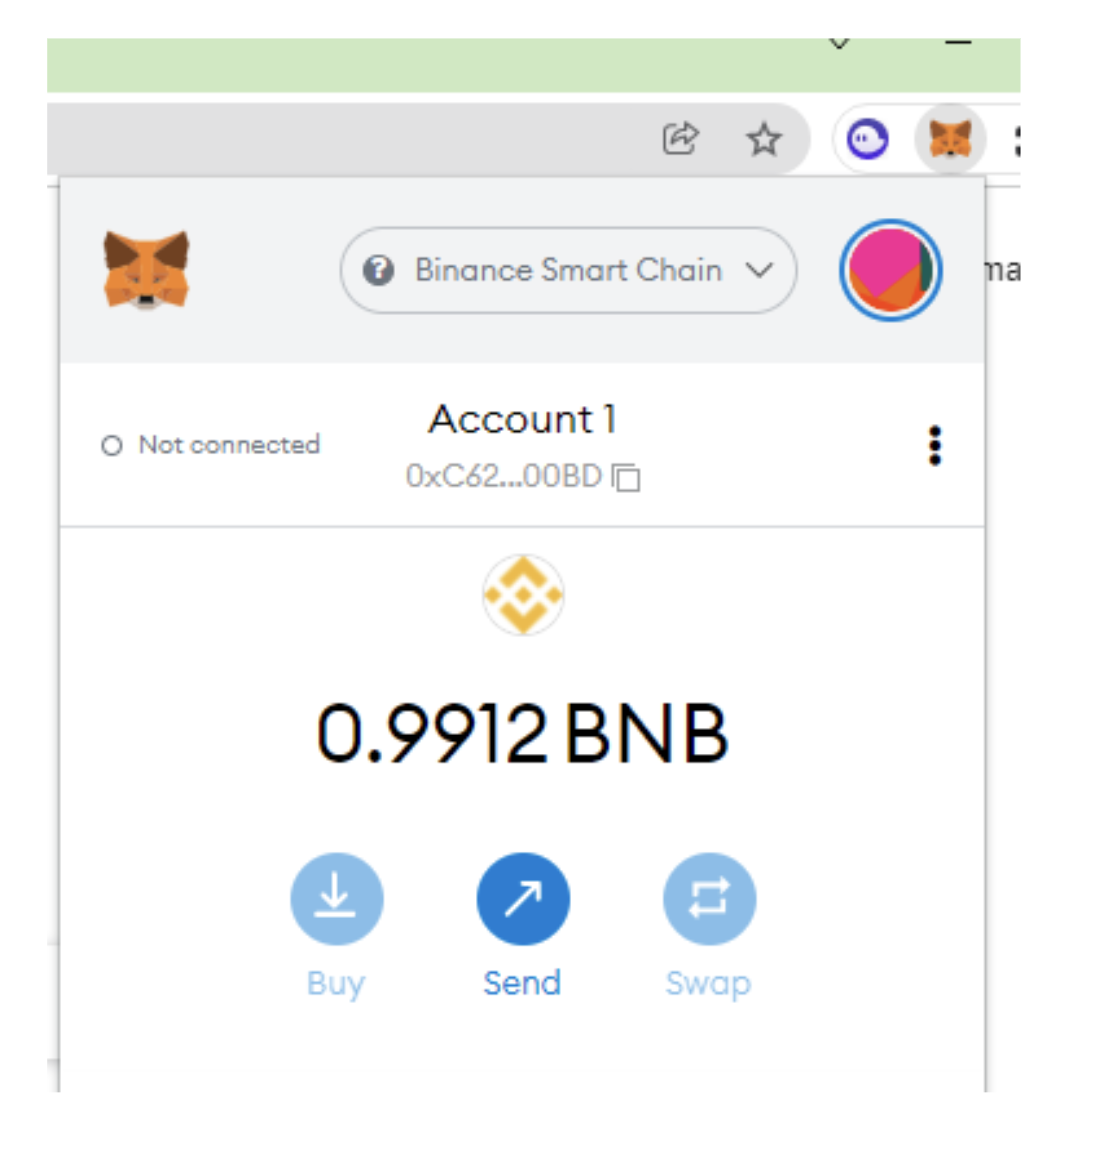
Now Send BNB from coinbase or binance or any other wallet you have to this address.
Screenshot the sent (withdraw, preview, address, send)
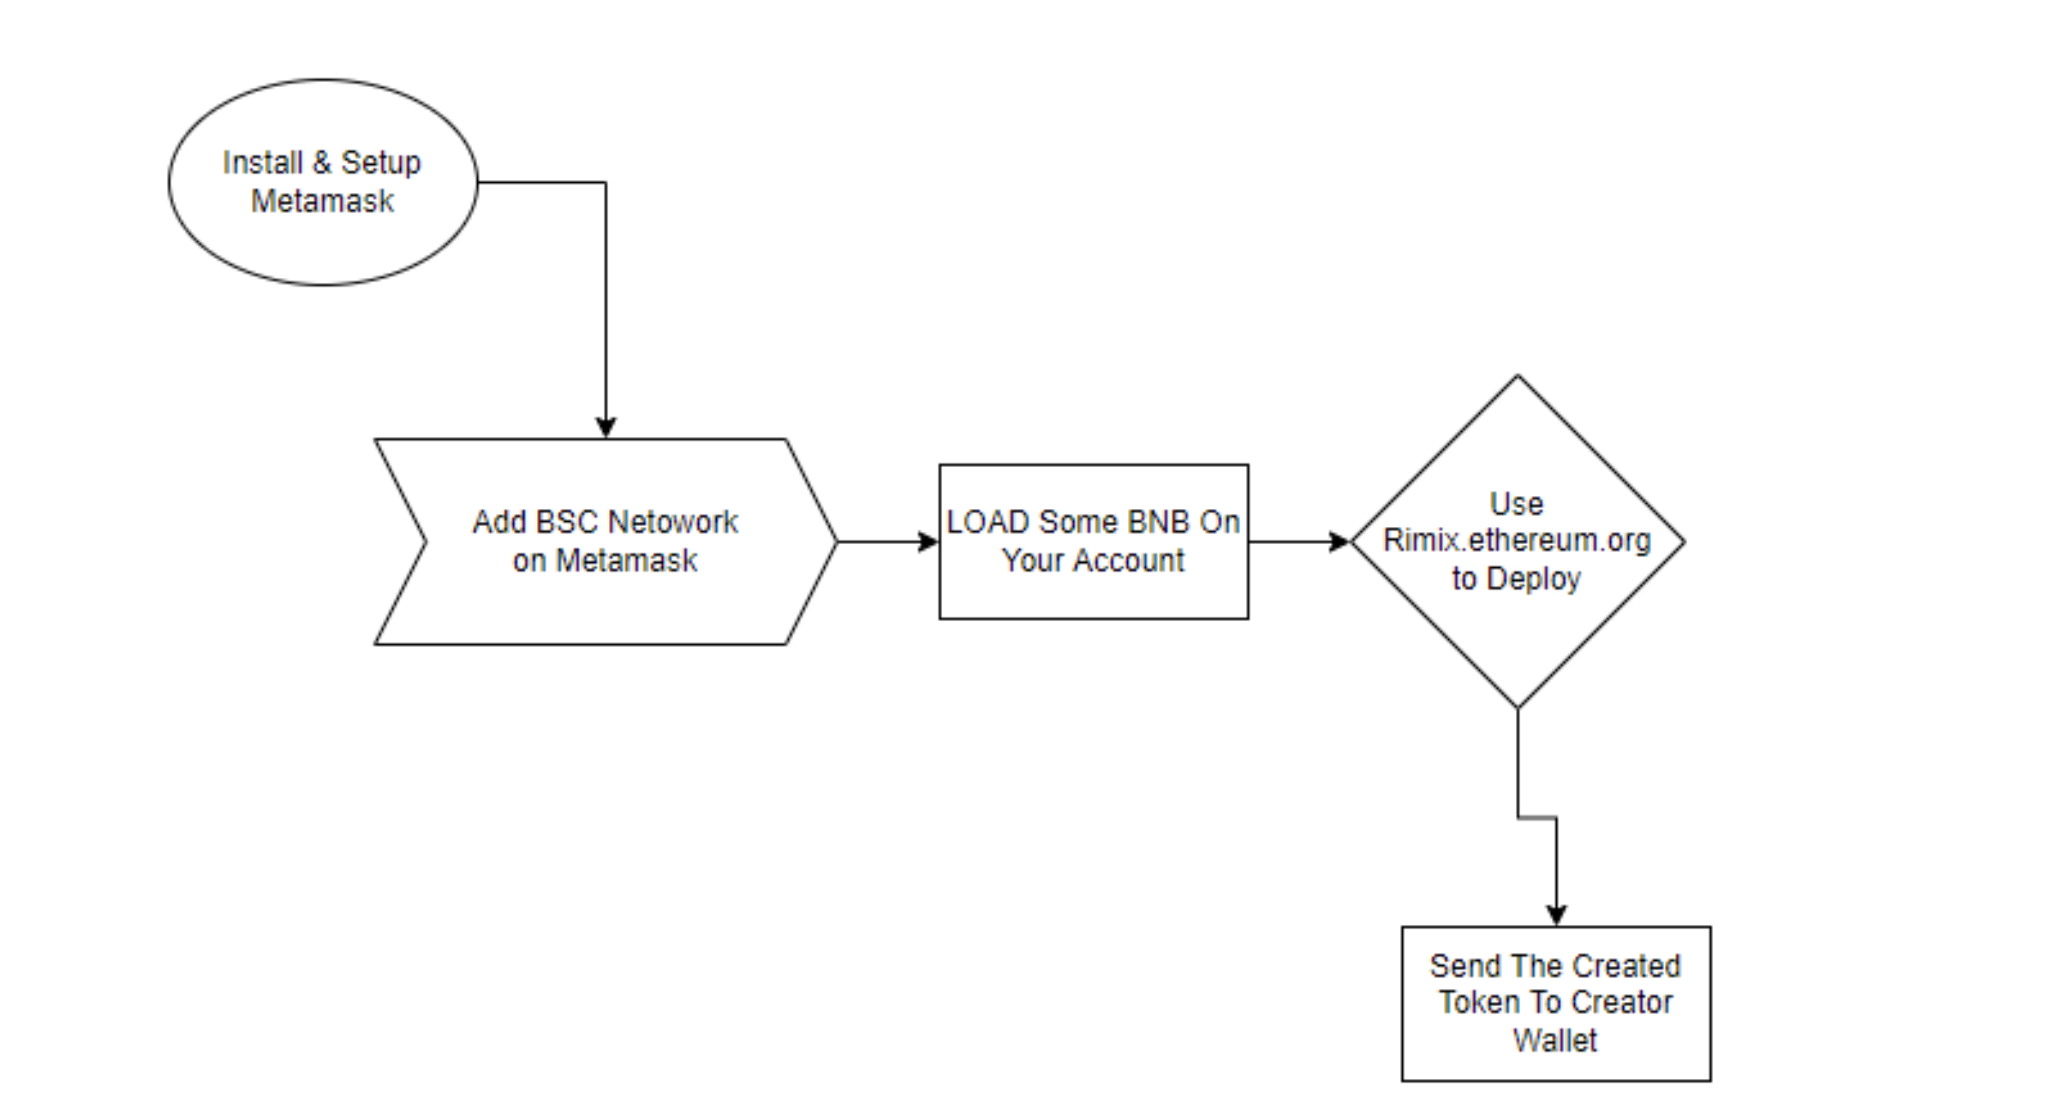
Now we start the deployment.
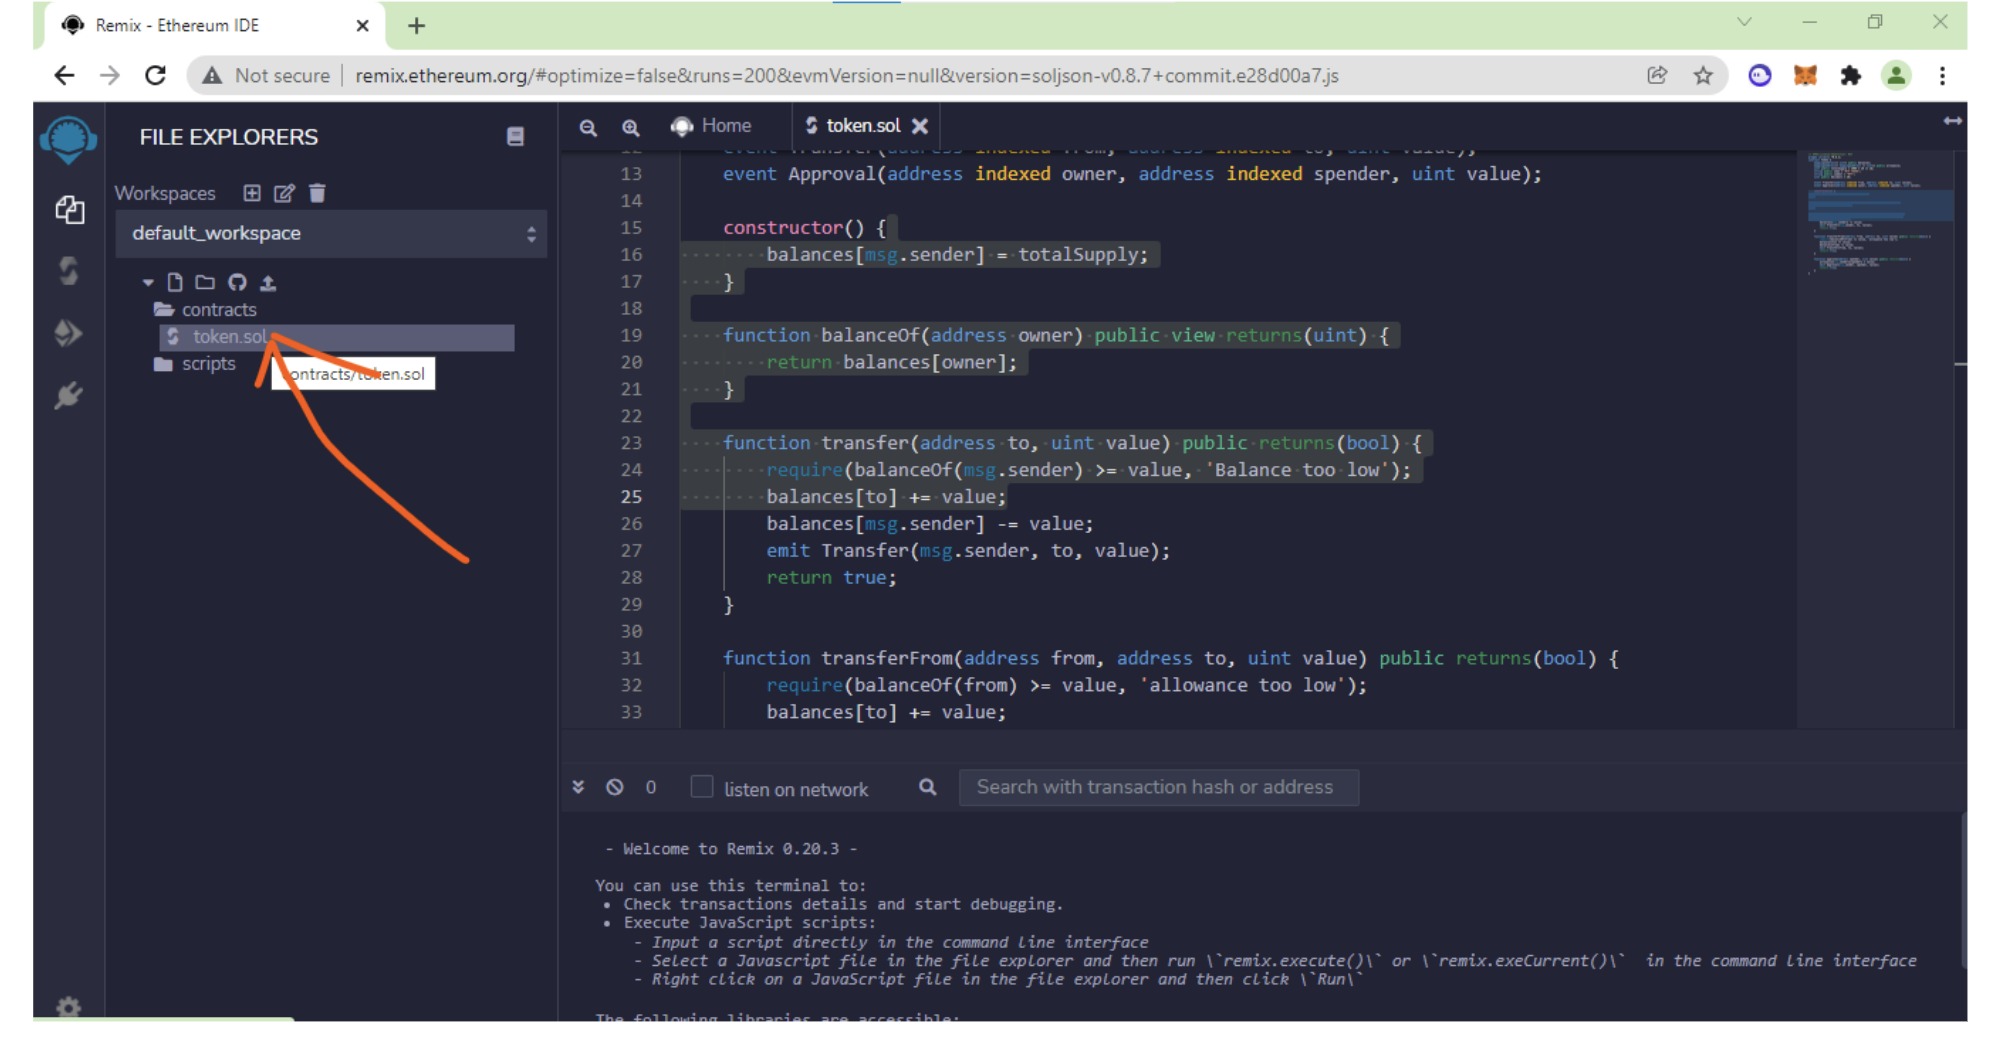
Go to this website – http://remix.ethereum.org – and open the token.sol file as we created previously. Add new file token.sol and past the code into the screen
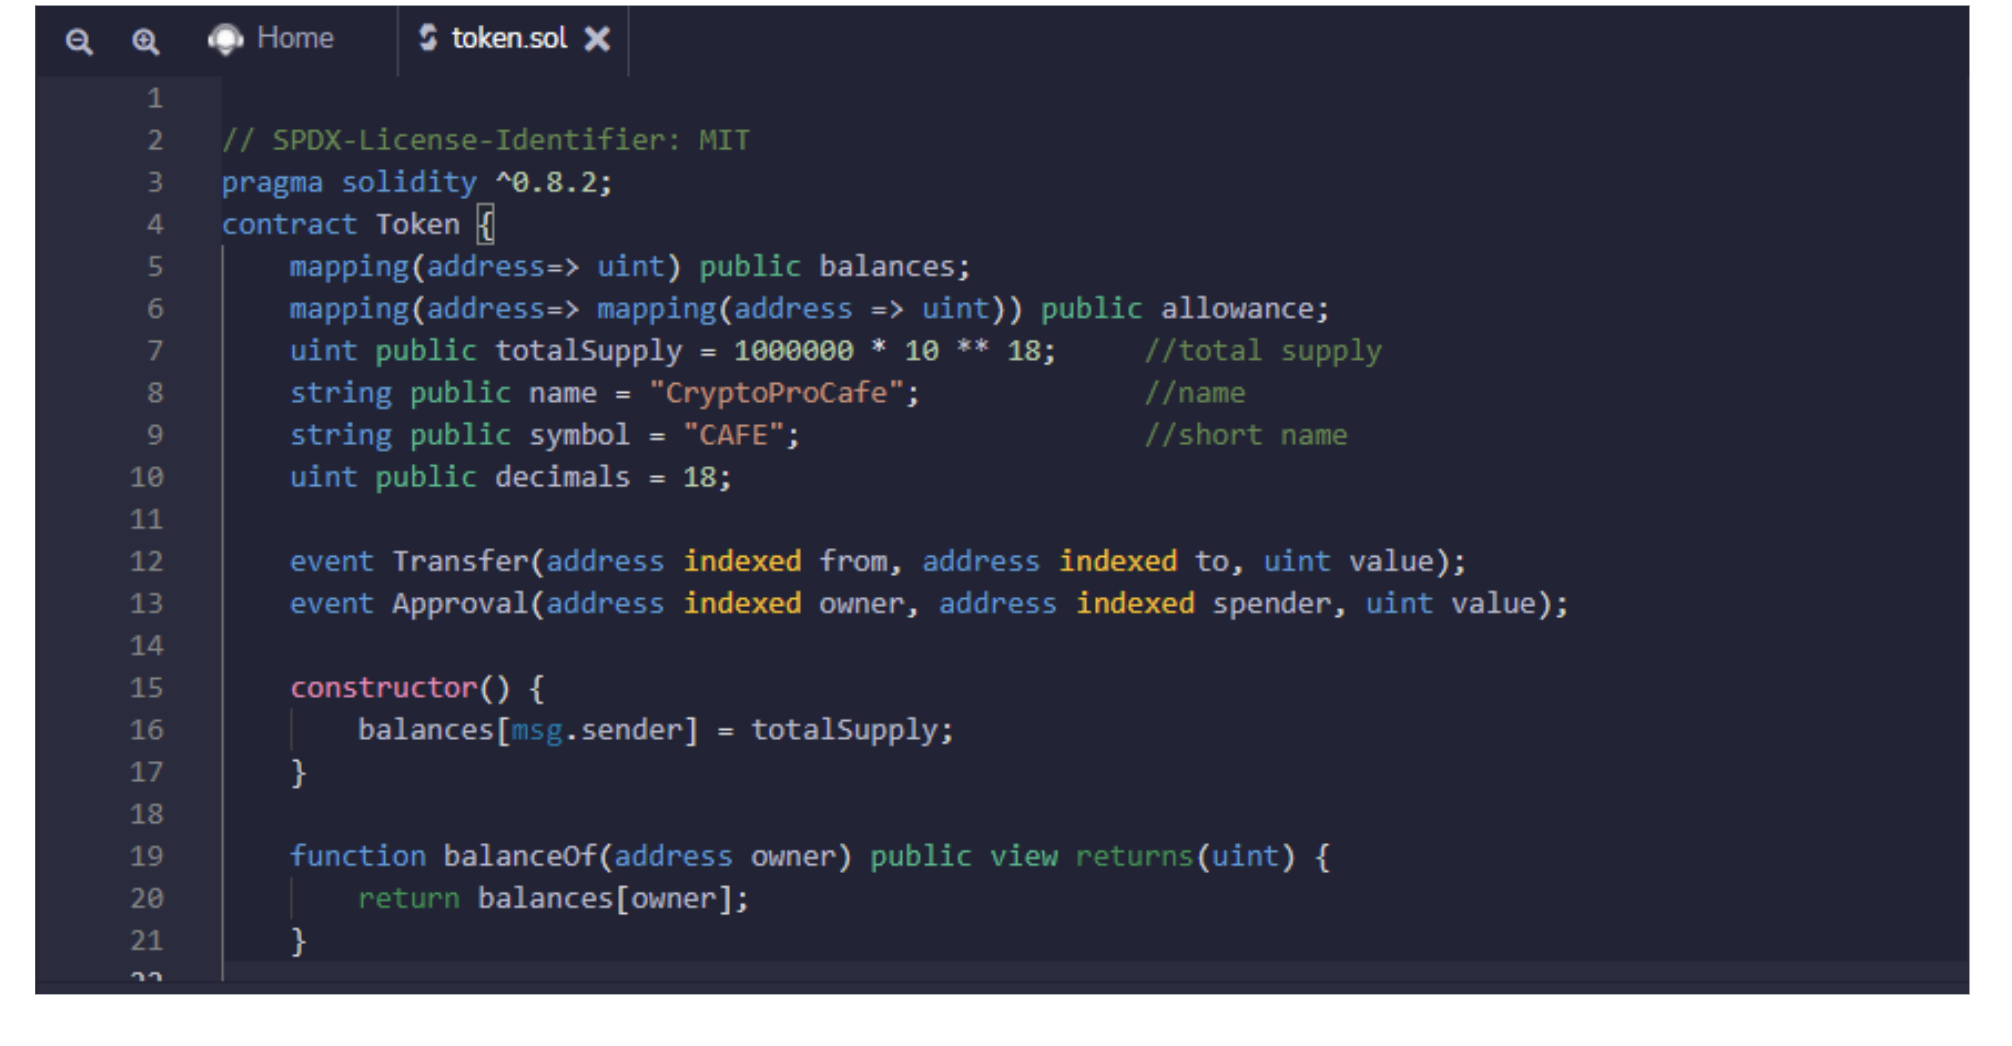
Change the number of the total supply to the amount you want.
Then make sure you added the total supply, name and short name correctly.
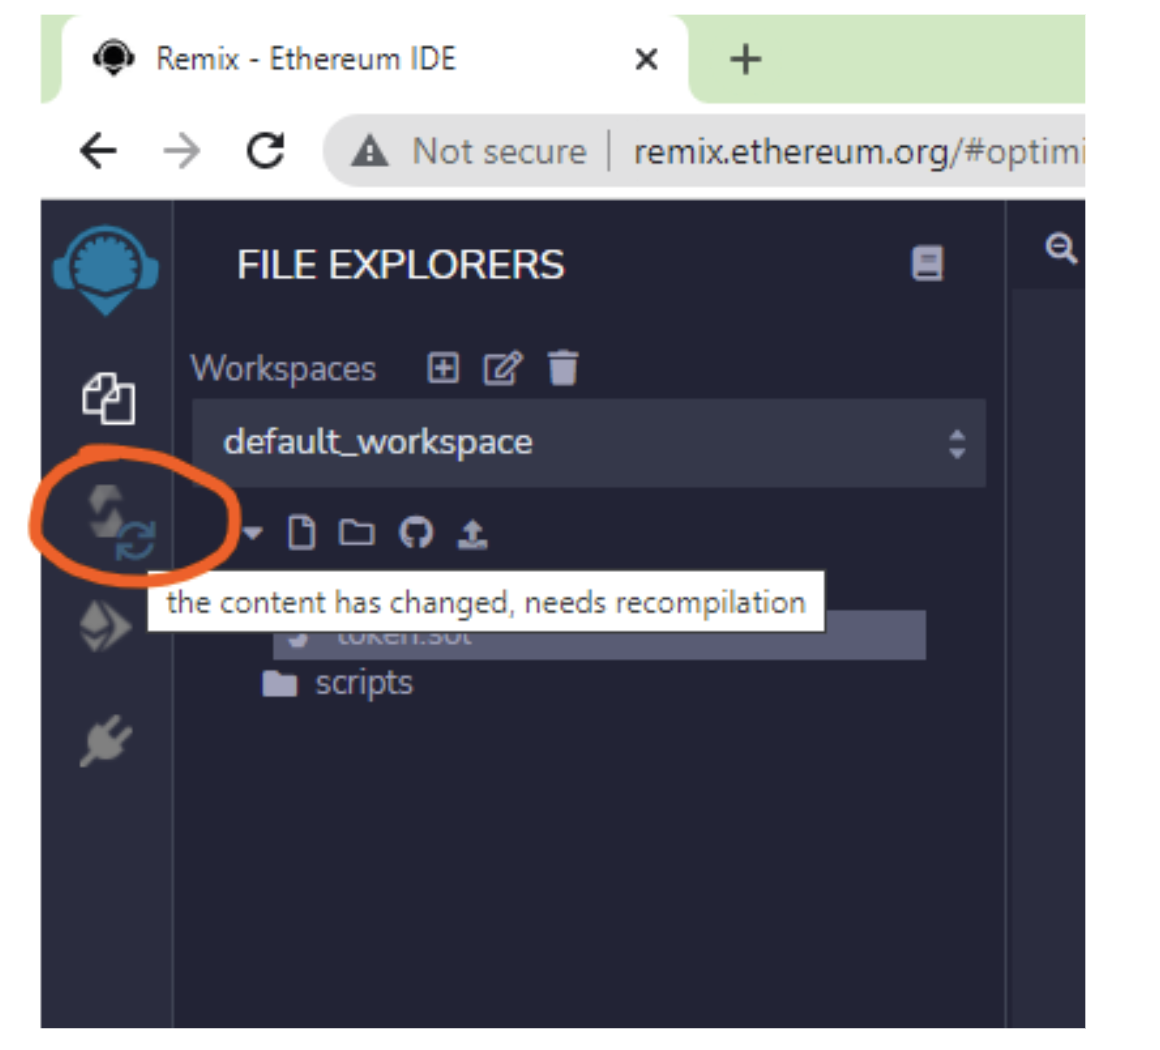
No, go to the compiler section: and compile the contract to check if everything is ok or not.
Make sure you match the compiler version to the same as the contract:
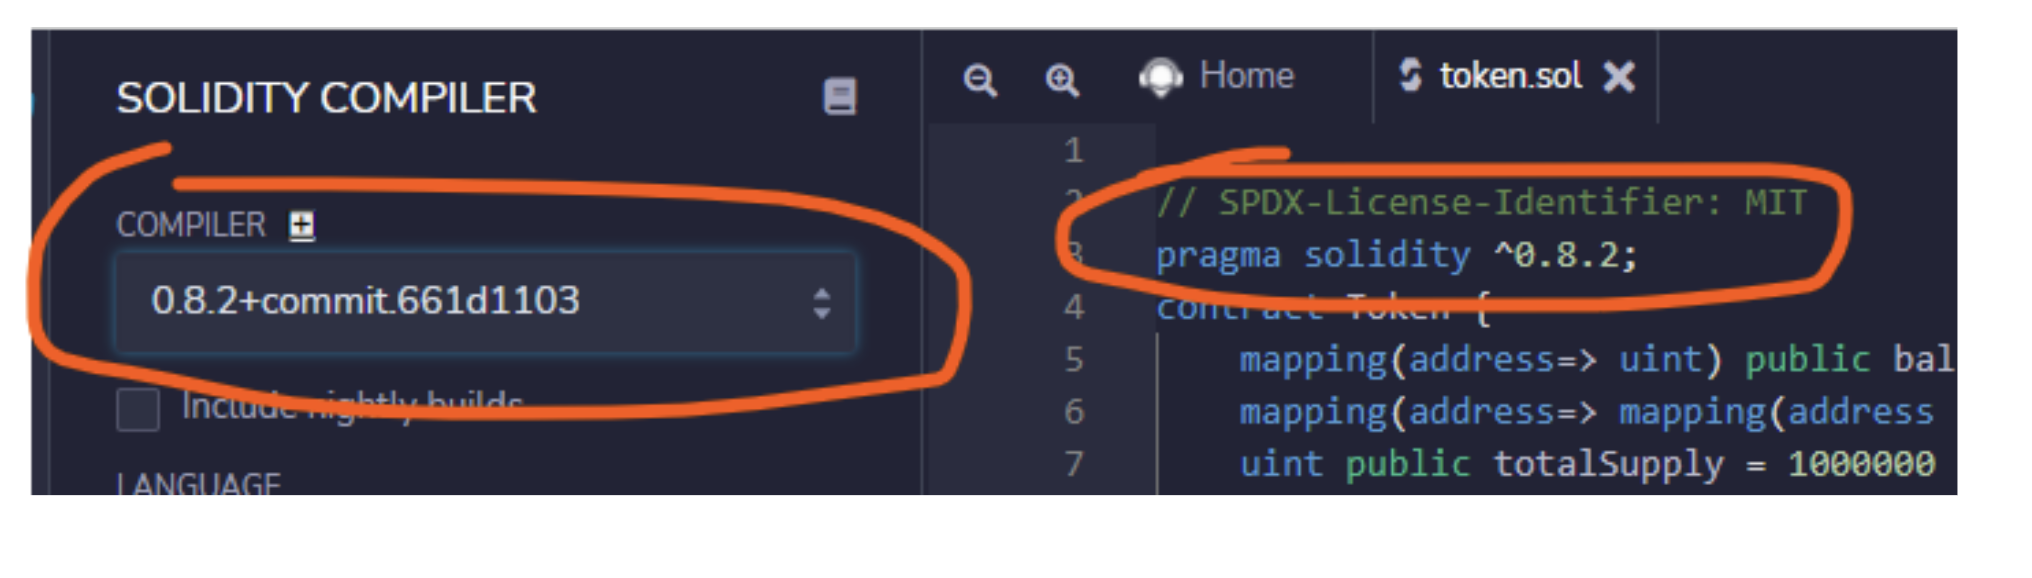
Then click on Compile token.sol
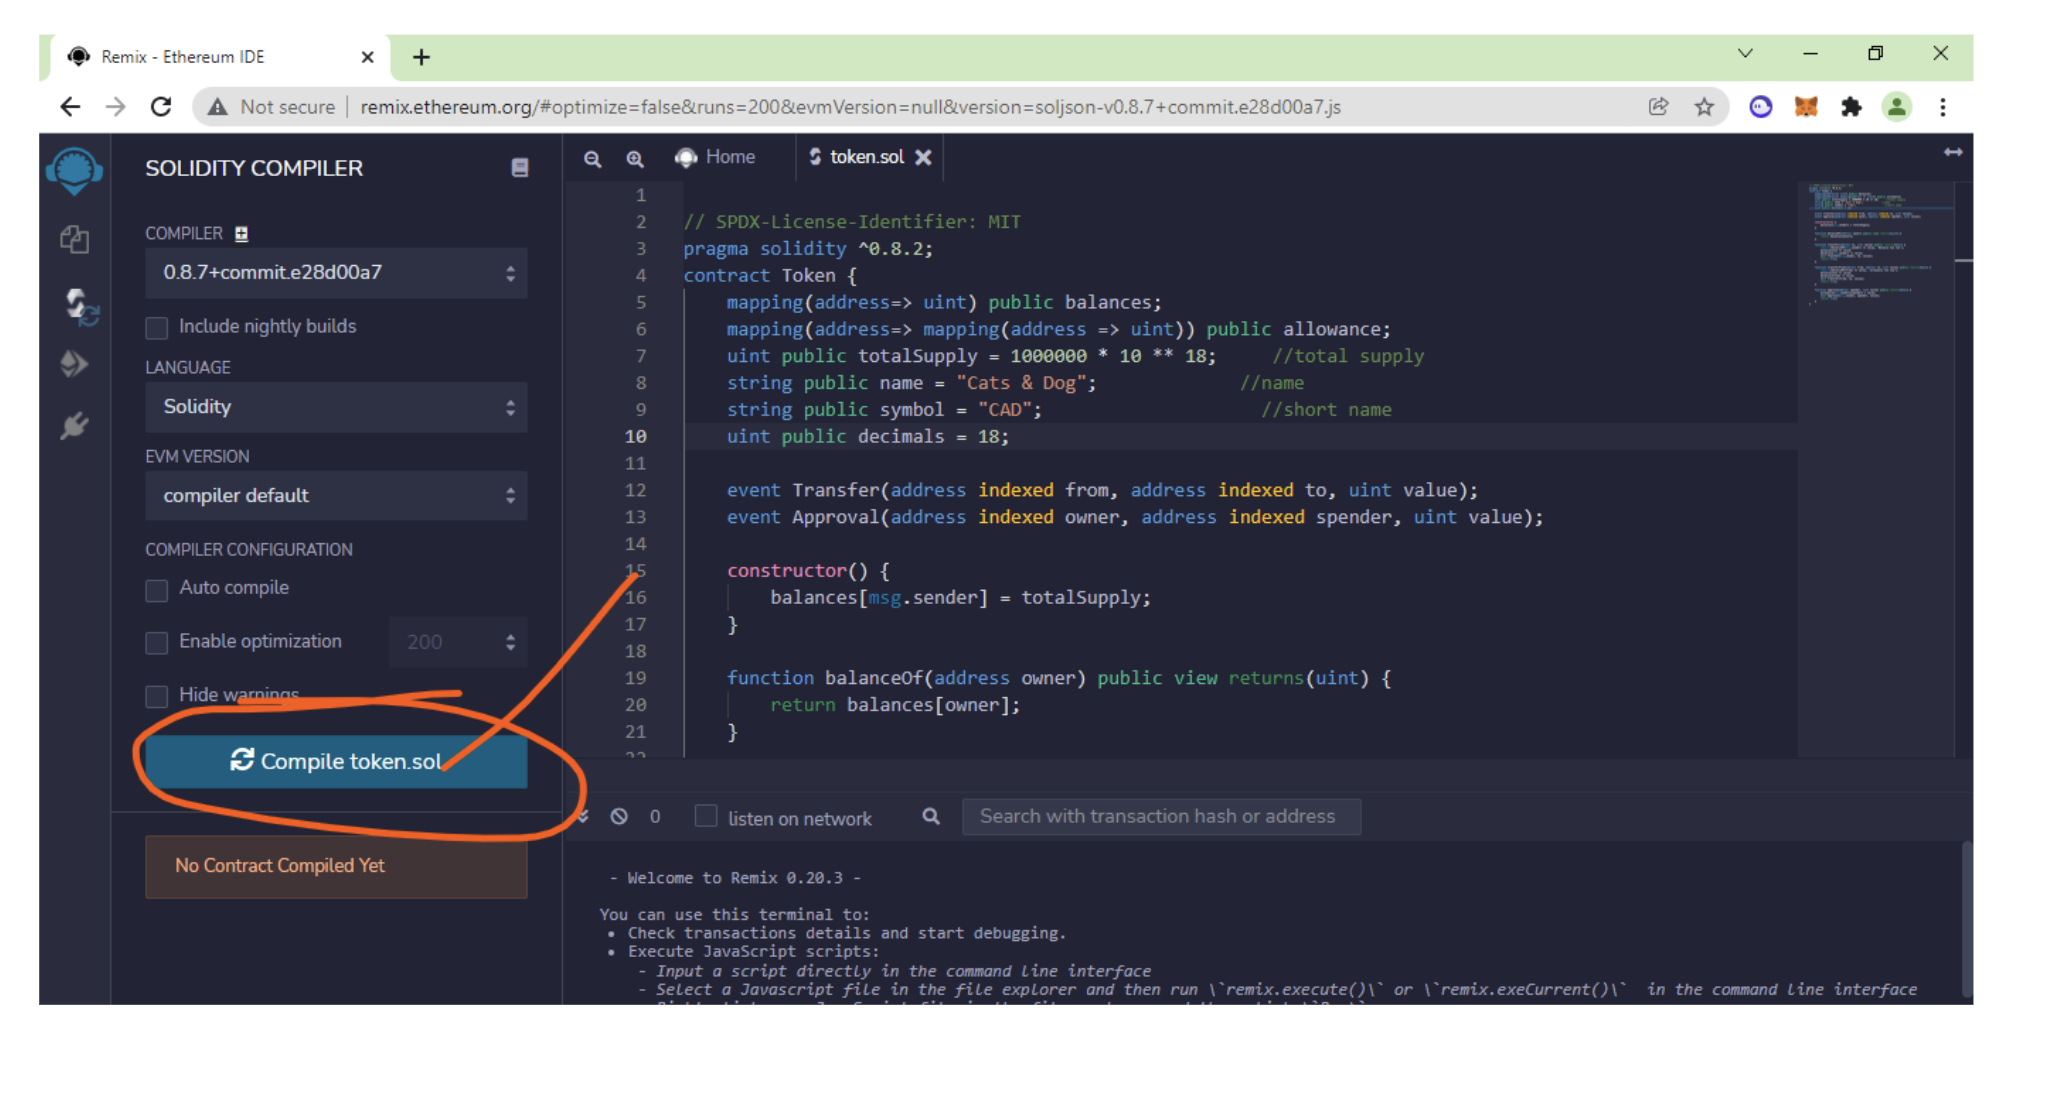
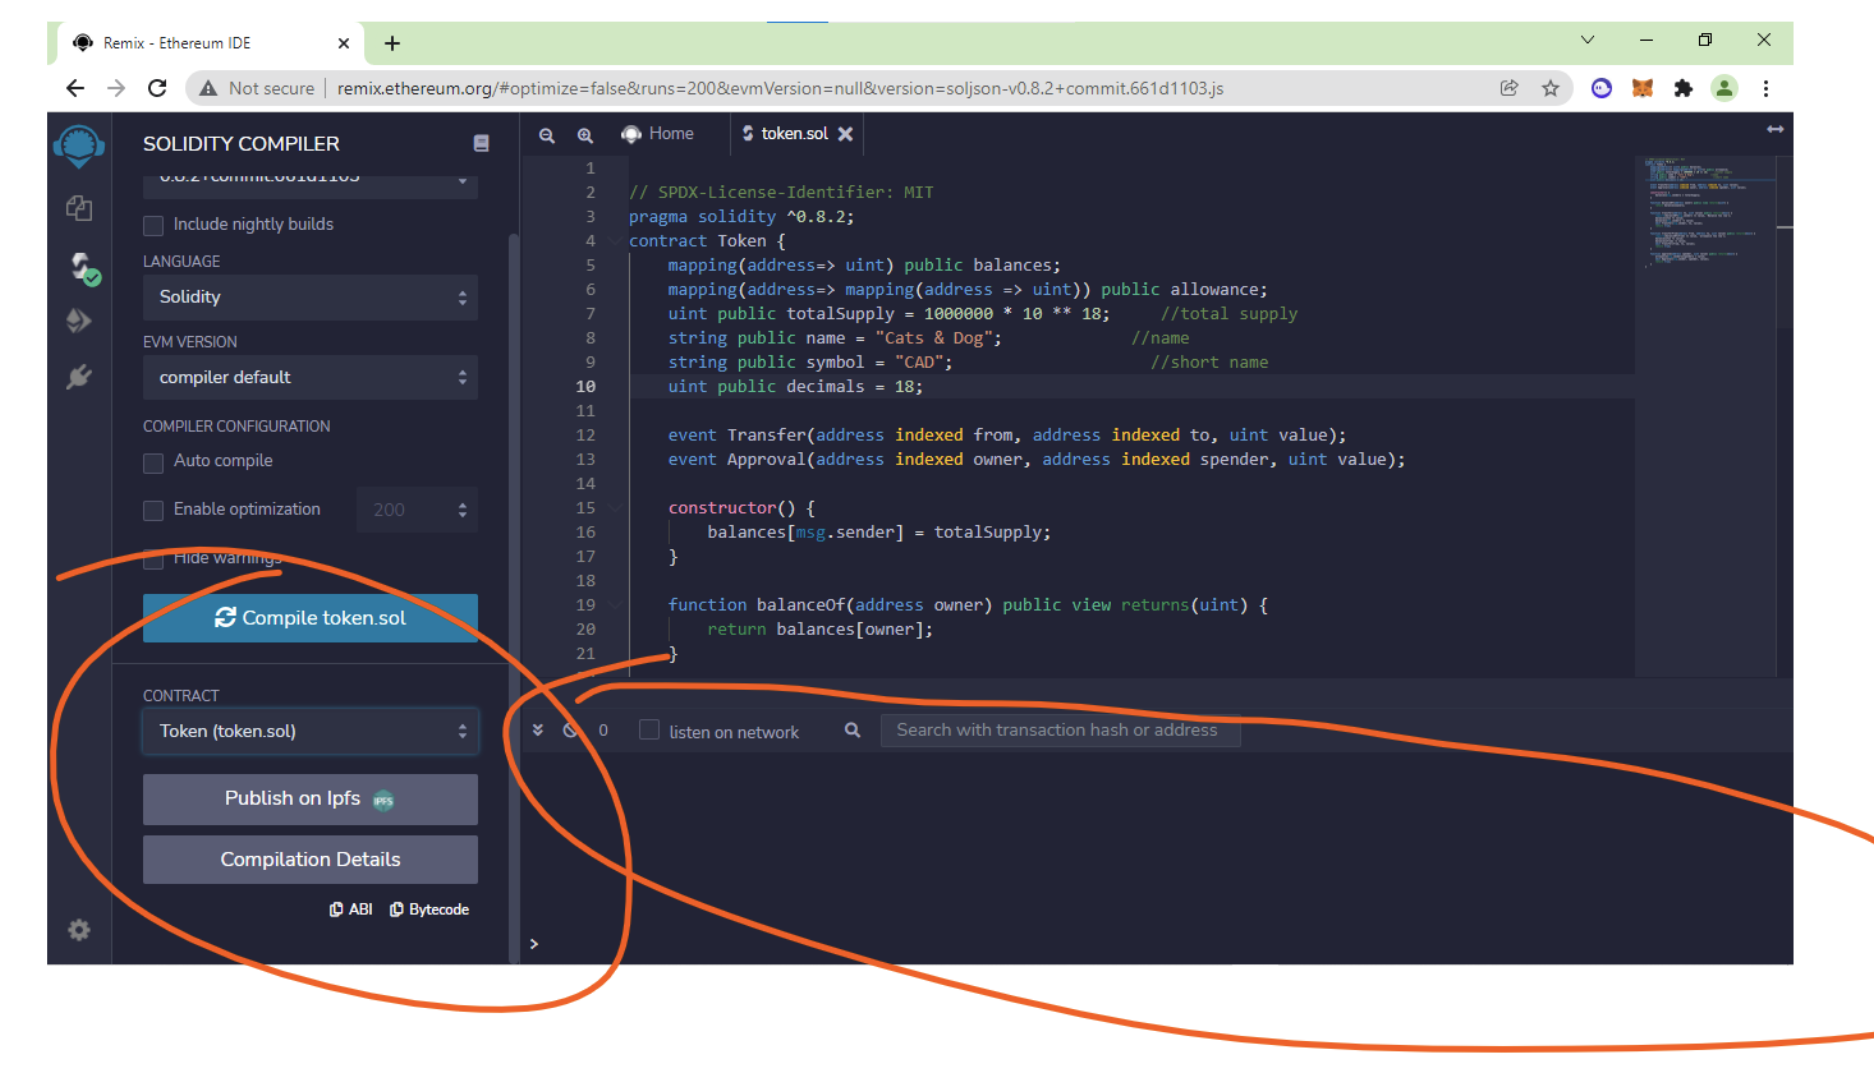
If you see no warning, then we are good to go :
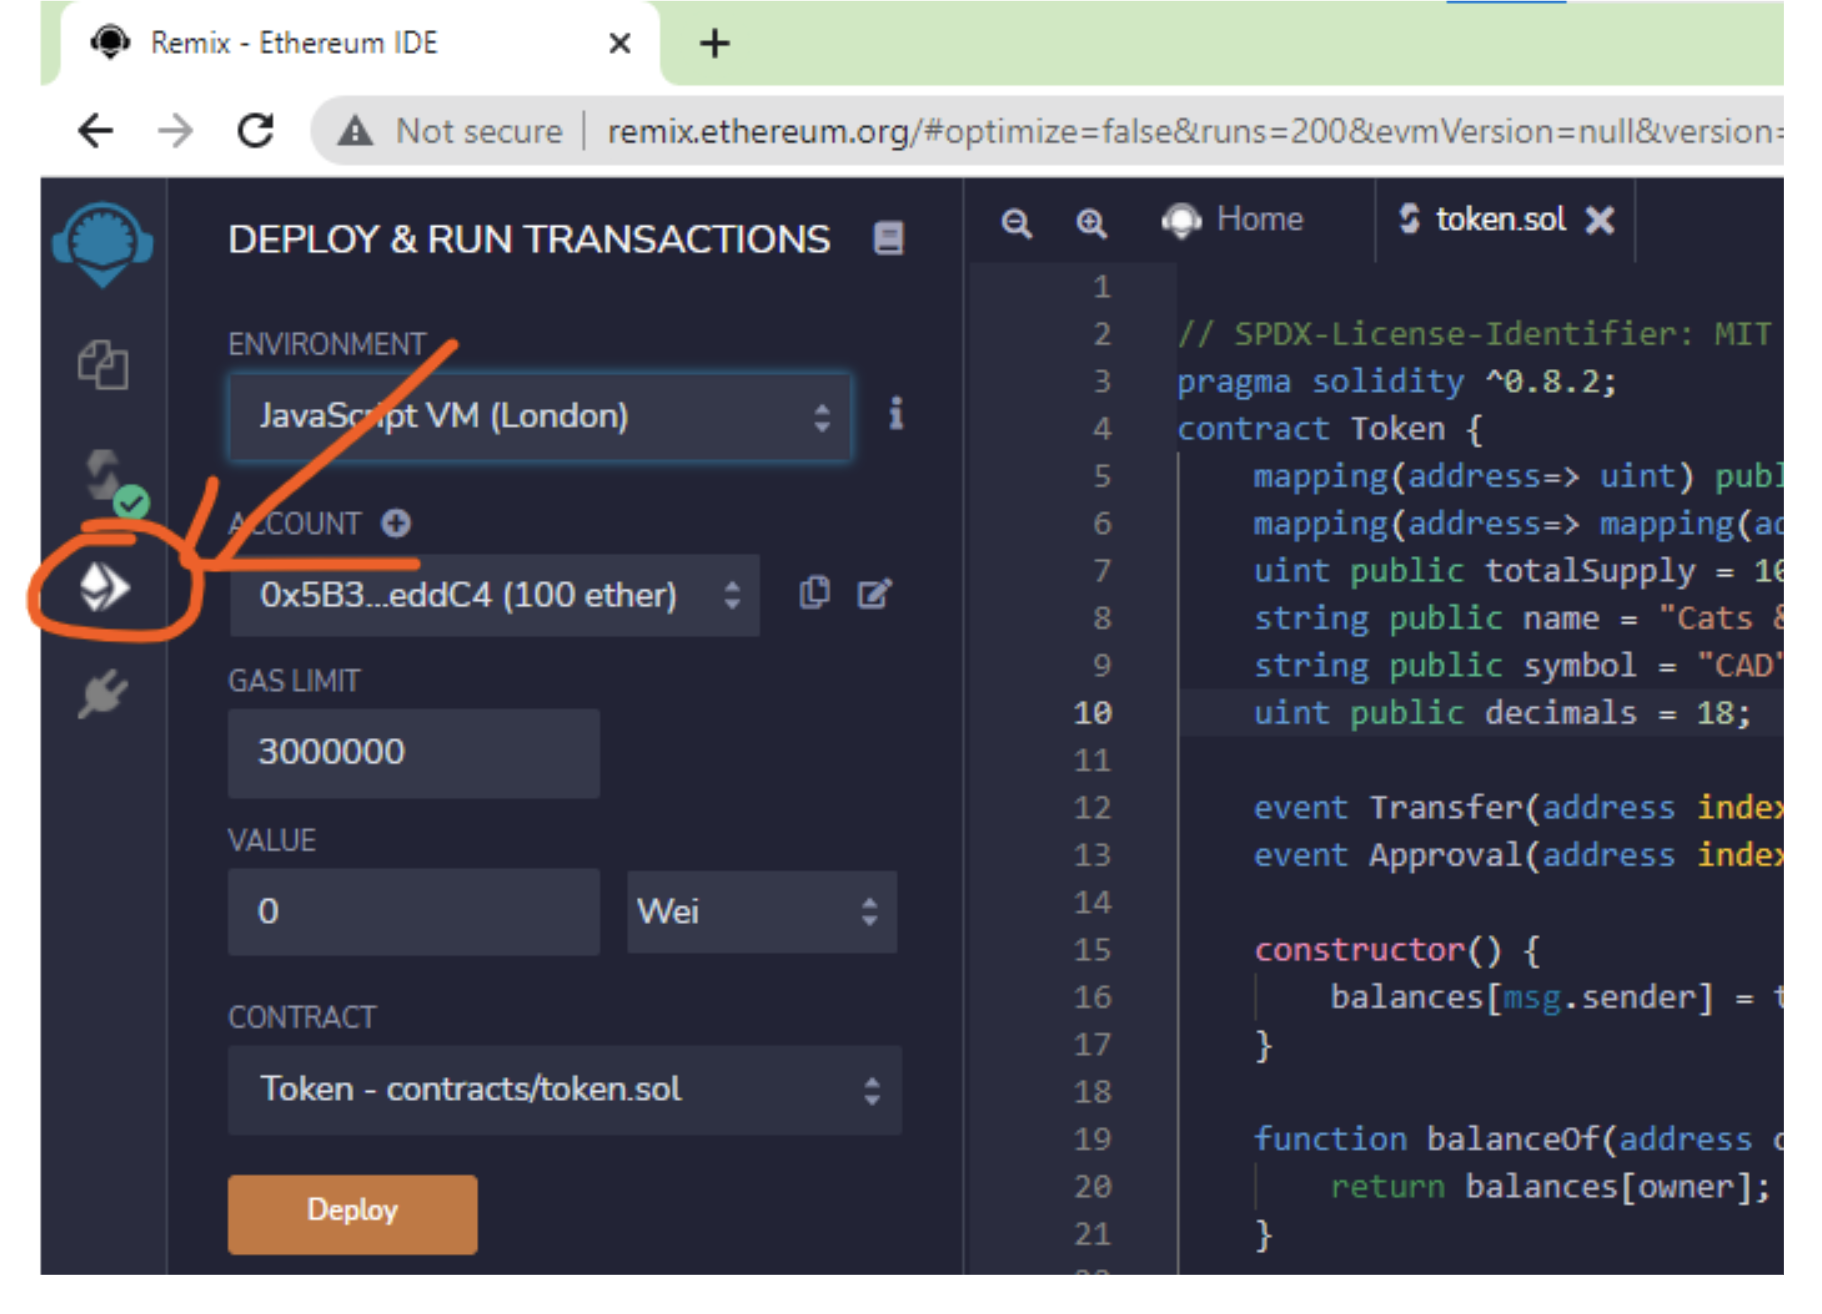
Now go to the deployment tab:
Then select the environment to inject web3:
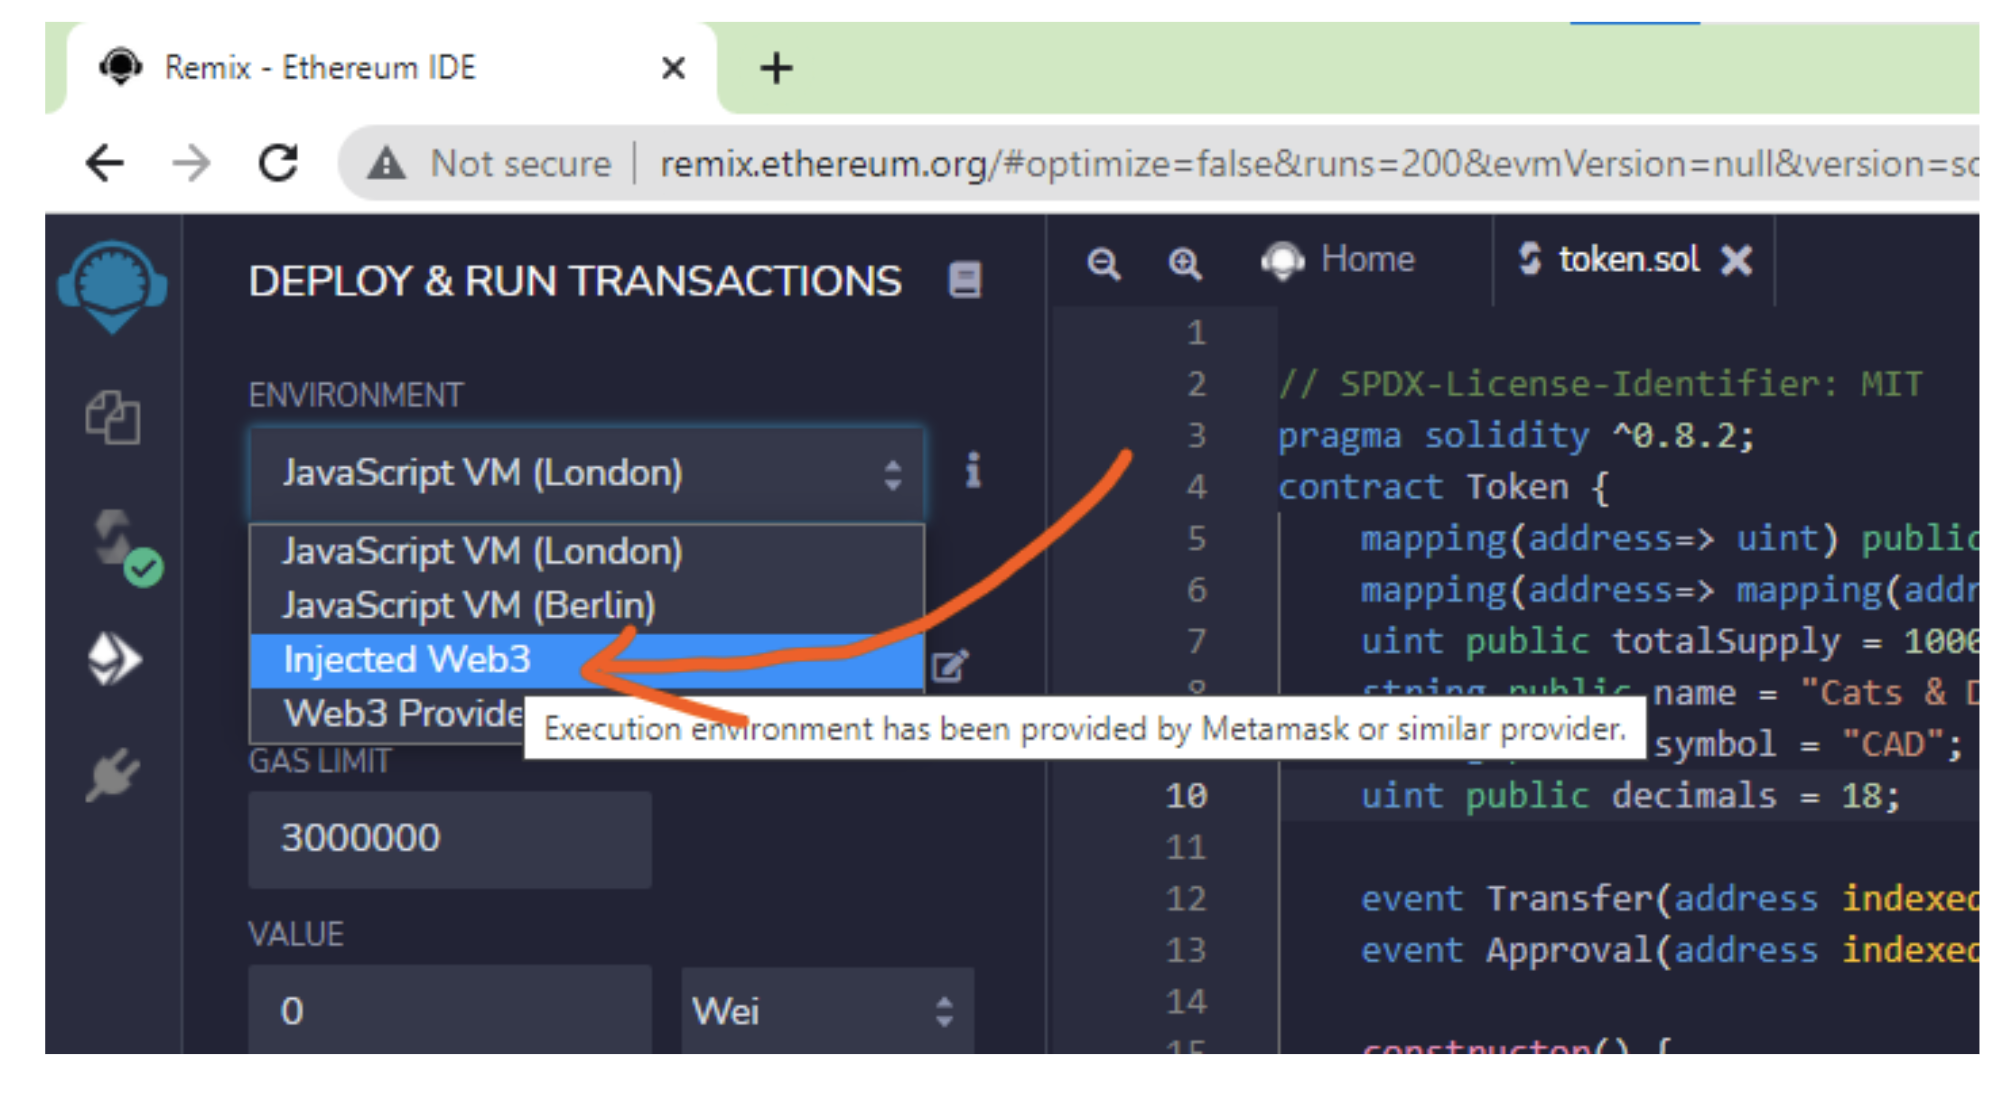
Now once you select it, it will ask for metamask confirmation. You click on next:
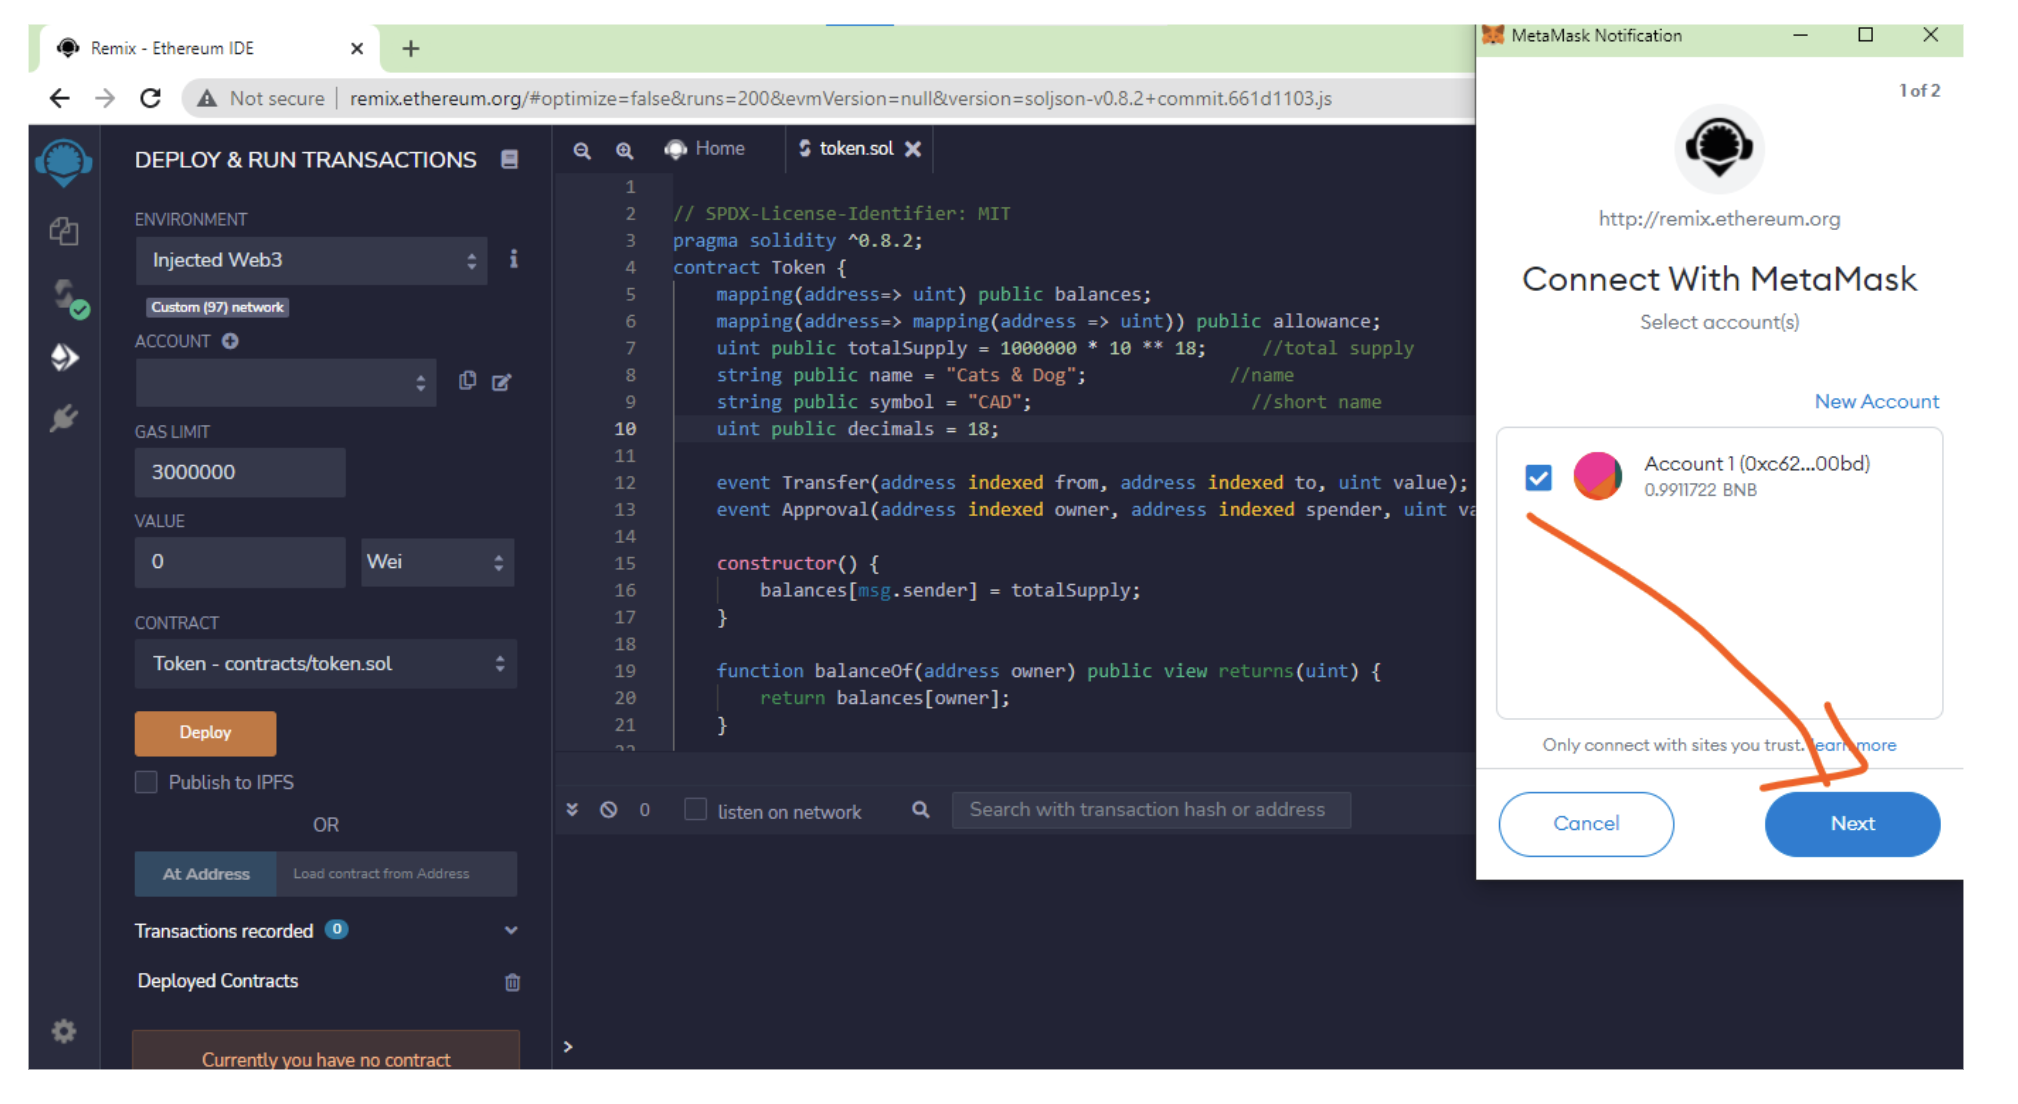
Then click connect:

Make sure your contract and the account are correct.
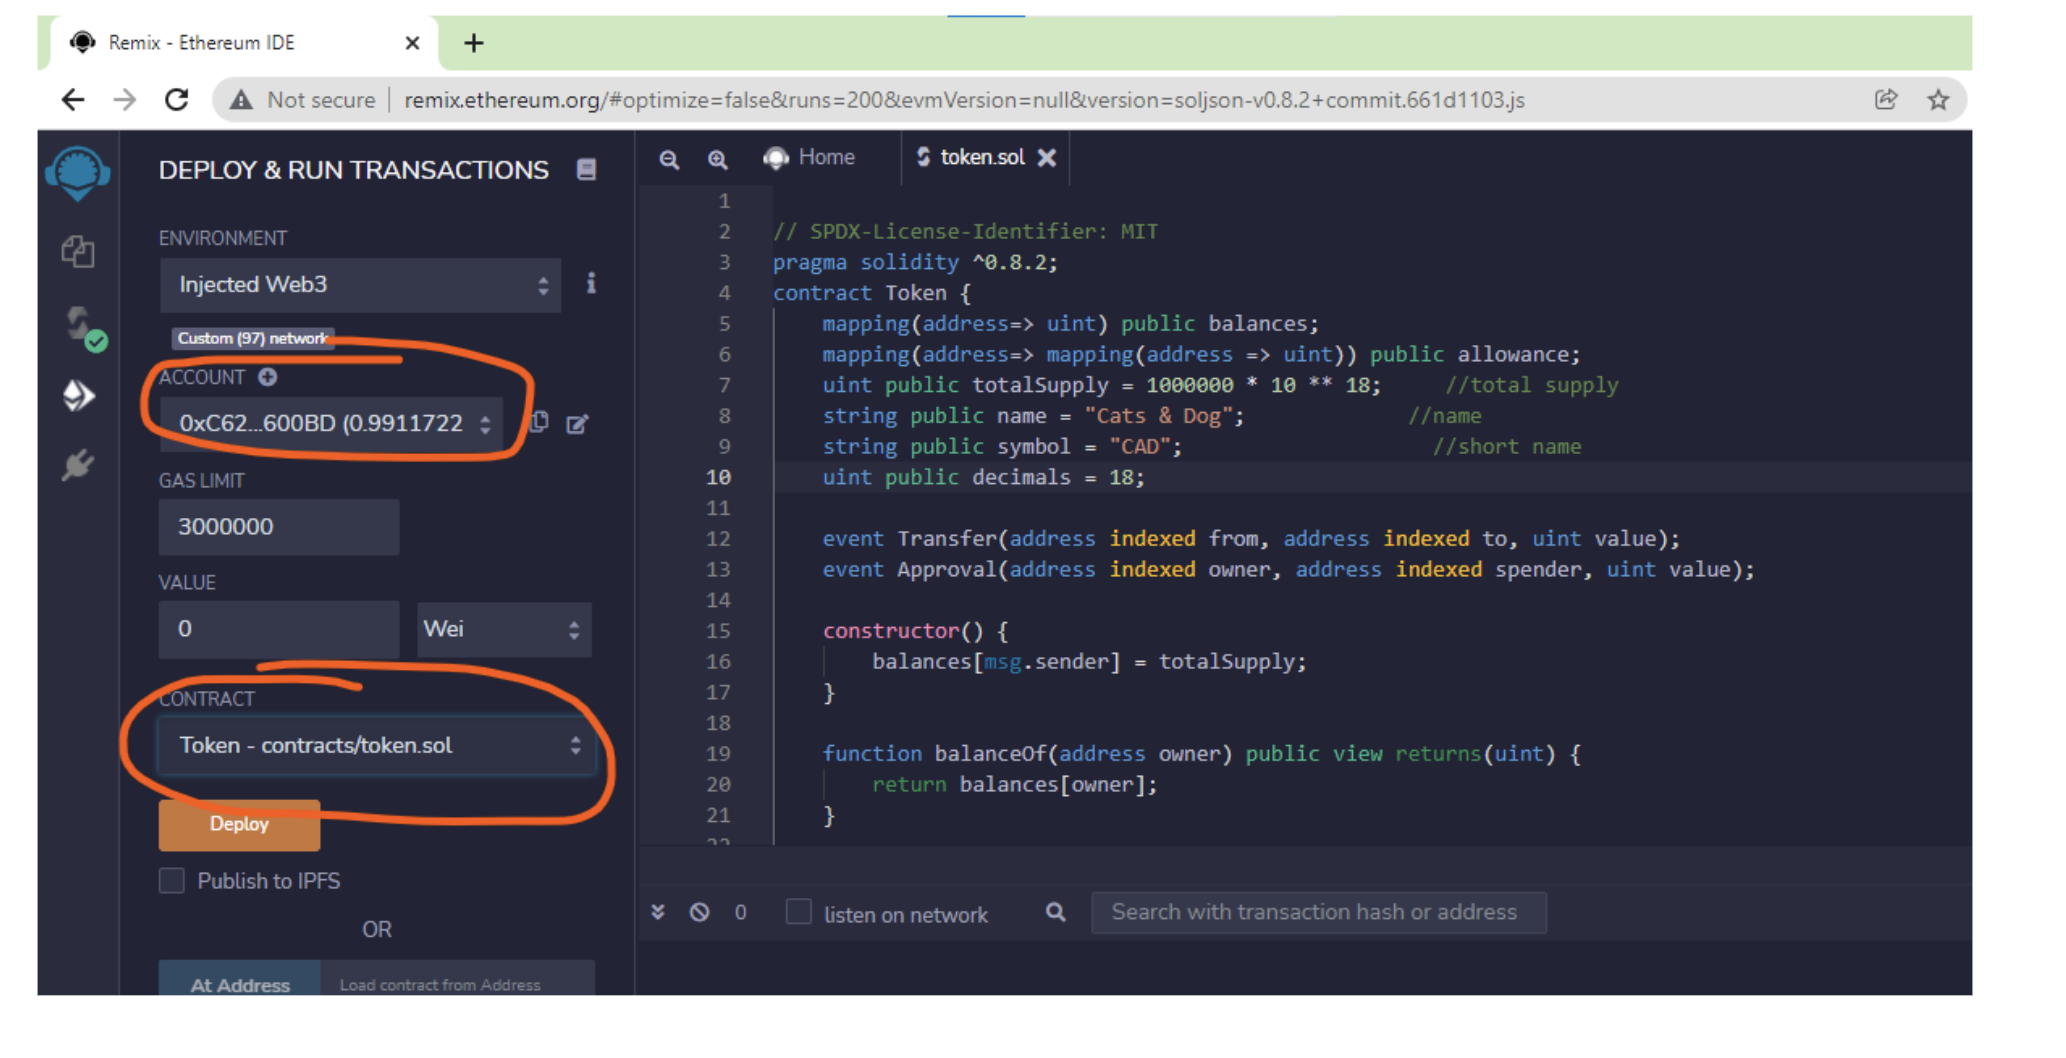
Then click on deploy and it will ask for metamask confirmation. Confirm it.
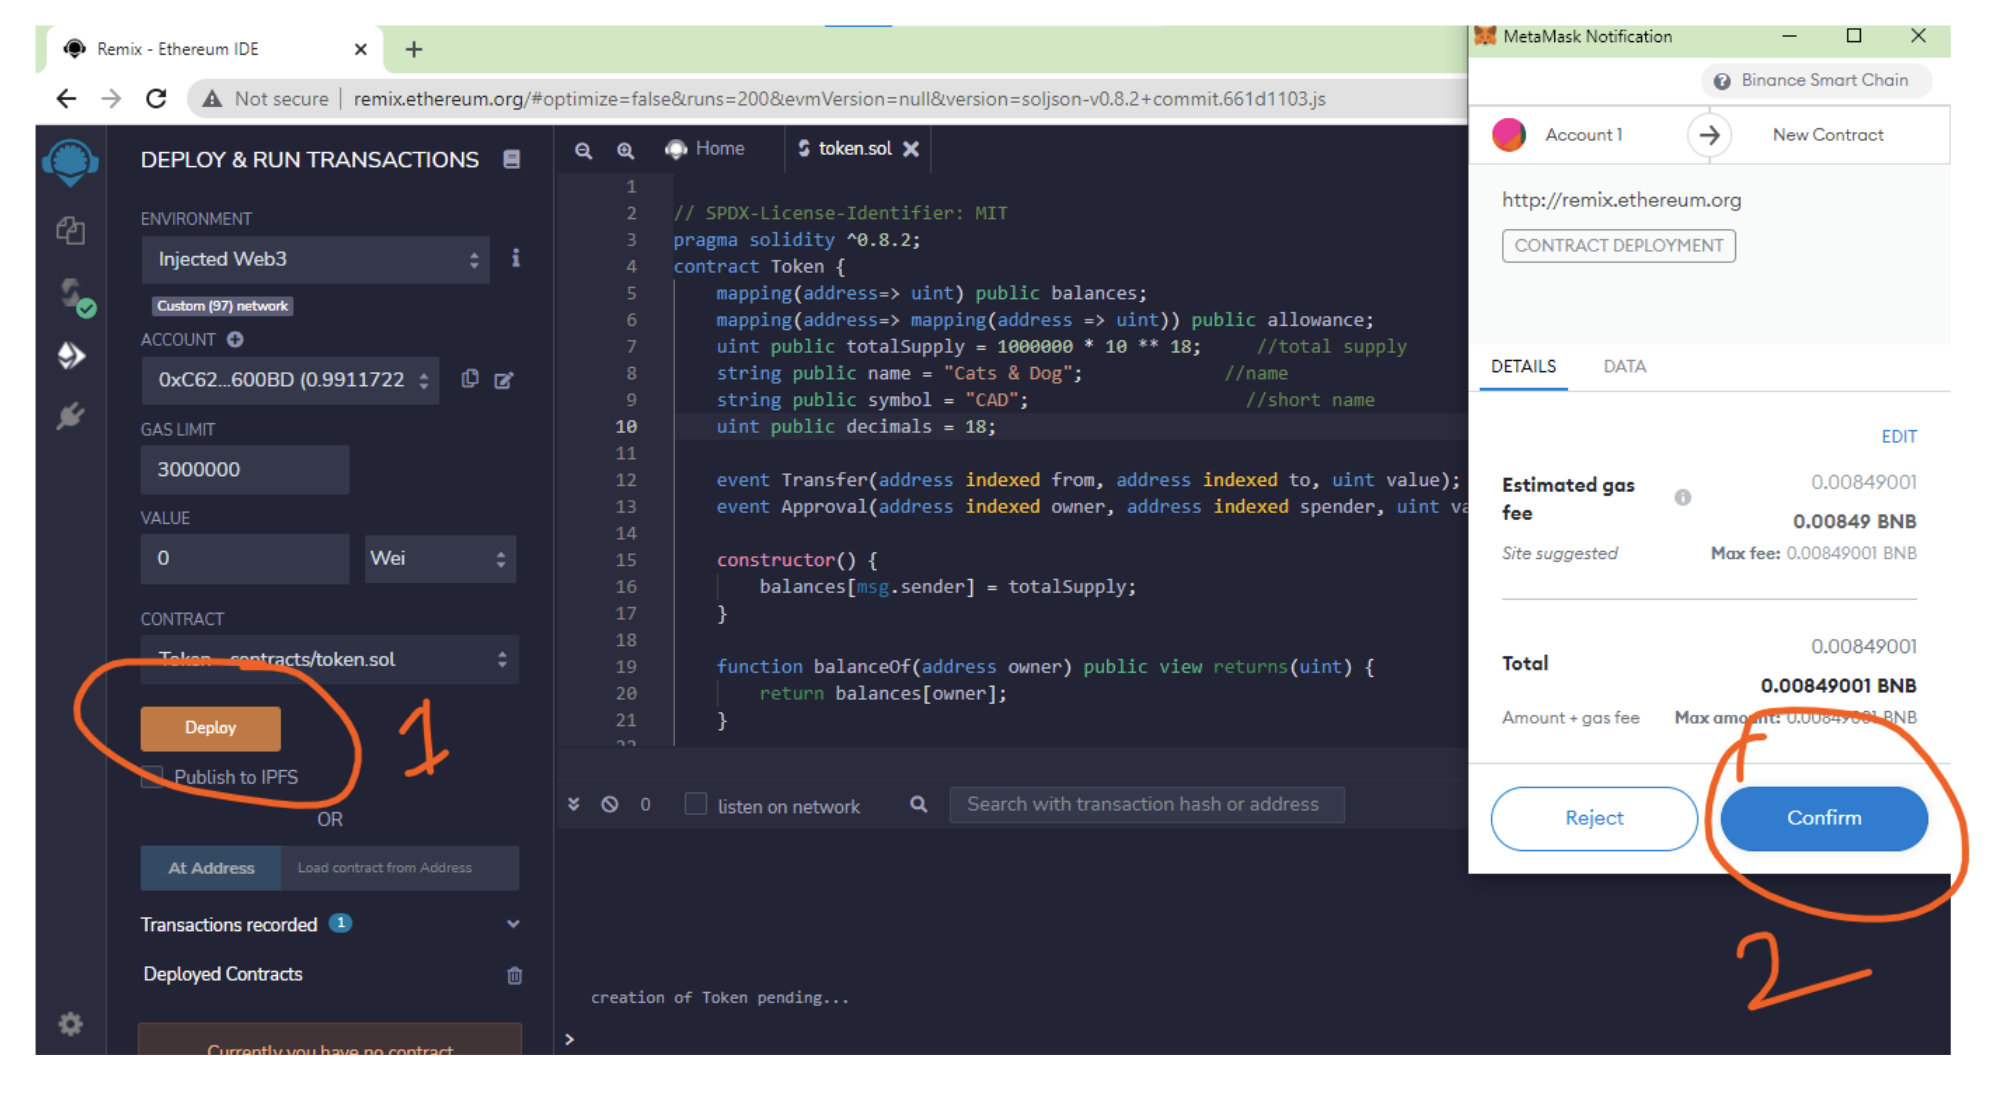
You should see a confirmation like this :
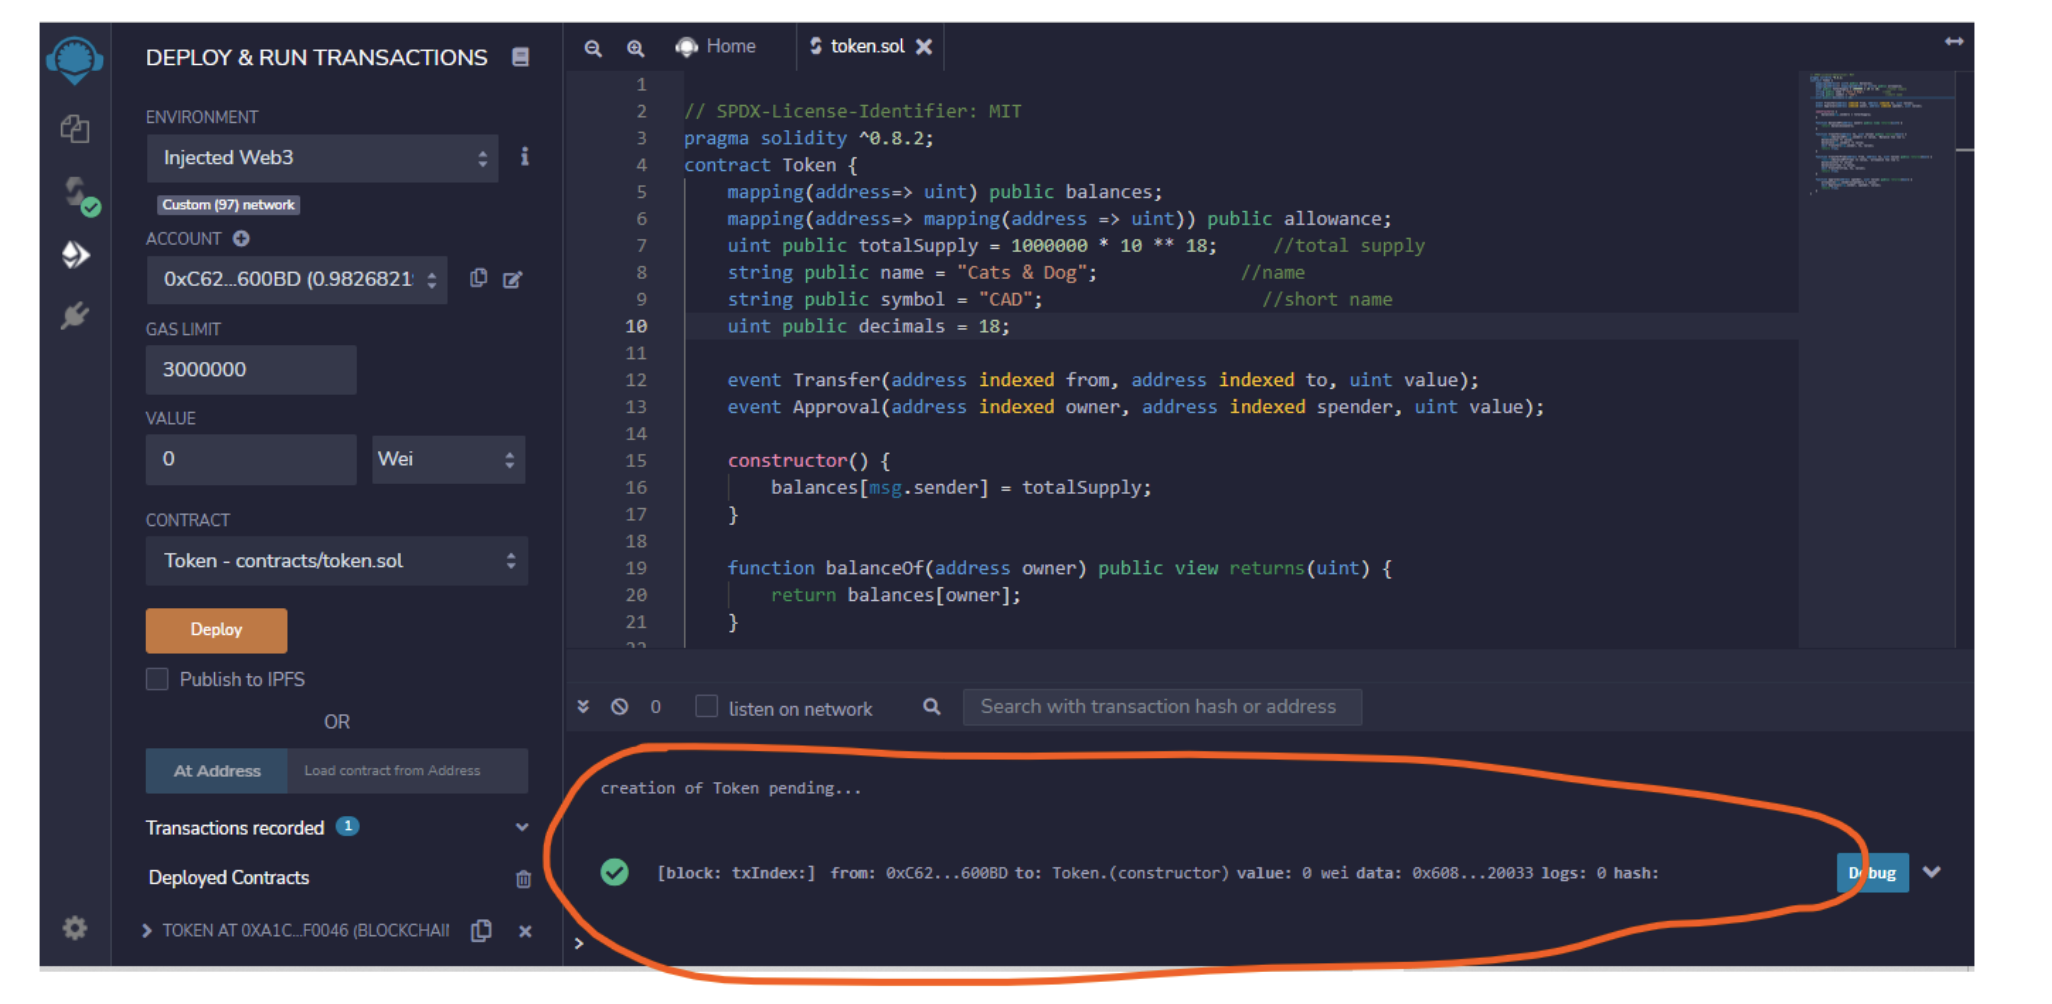
Congratulations, we just deployed our token. Now we can interact with the token.
Now we need to get out contract address. For this. Click on metamask and click on activity, then click on contract deployment.
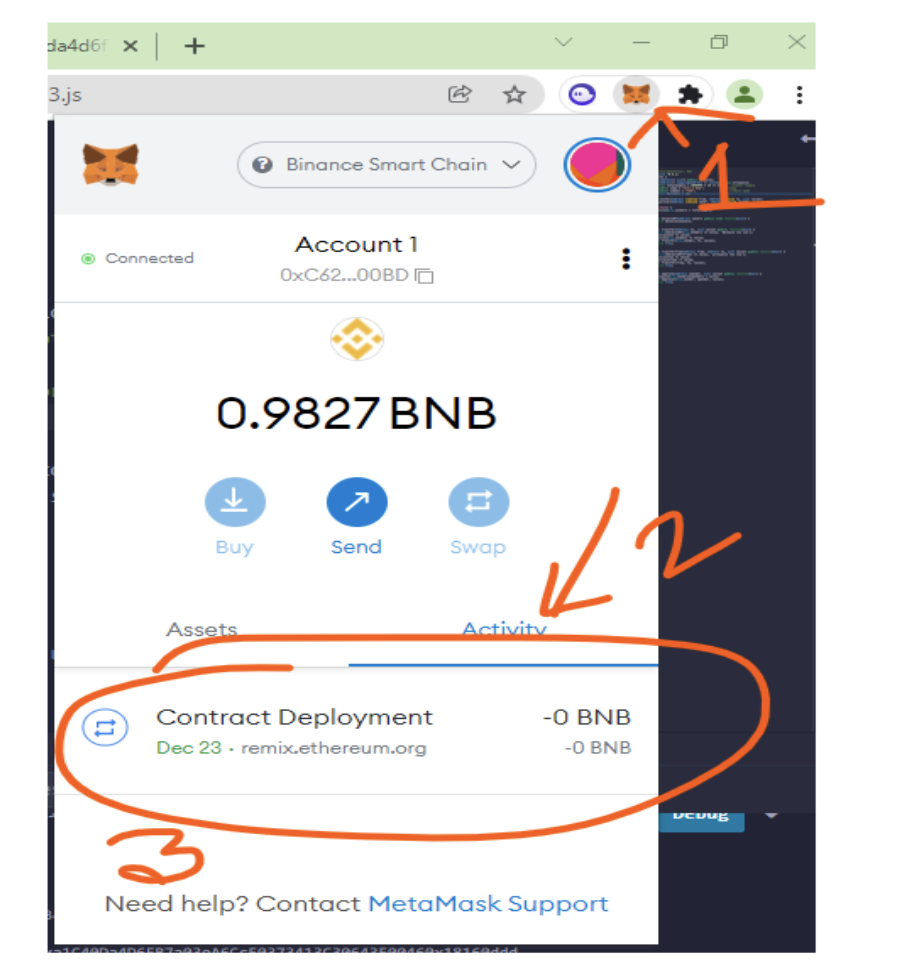
Then click on view on blockchain explorer:
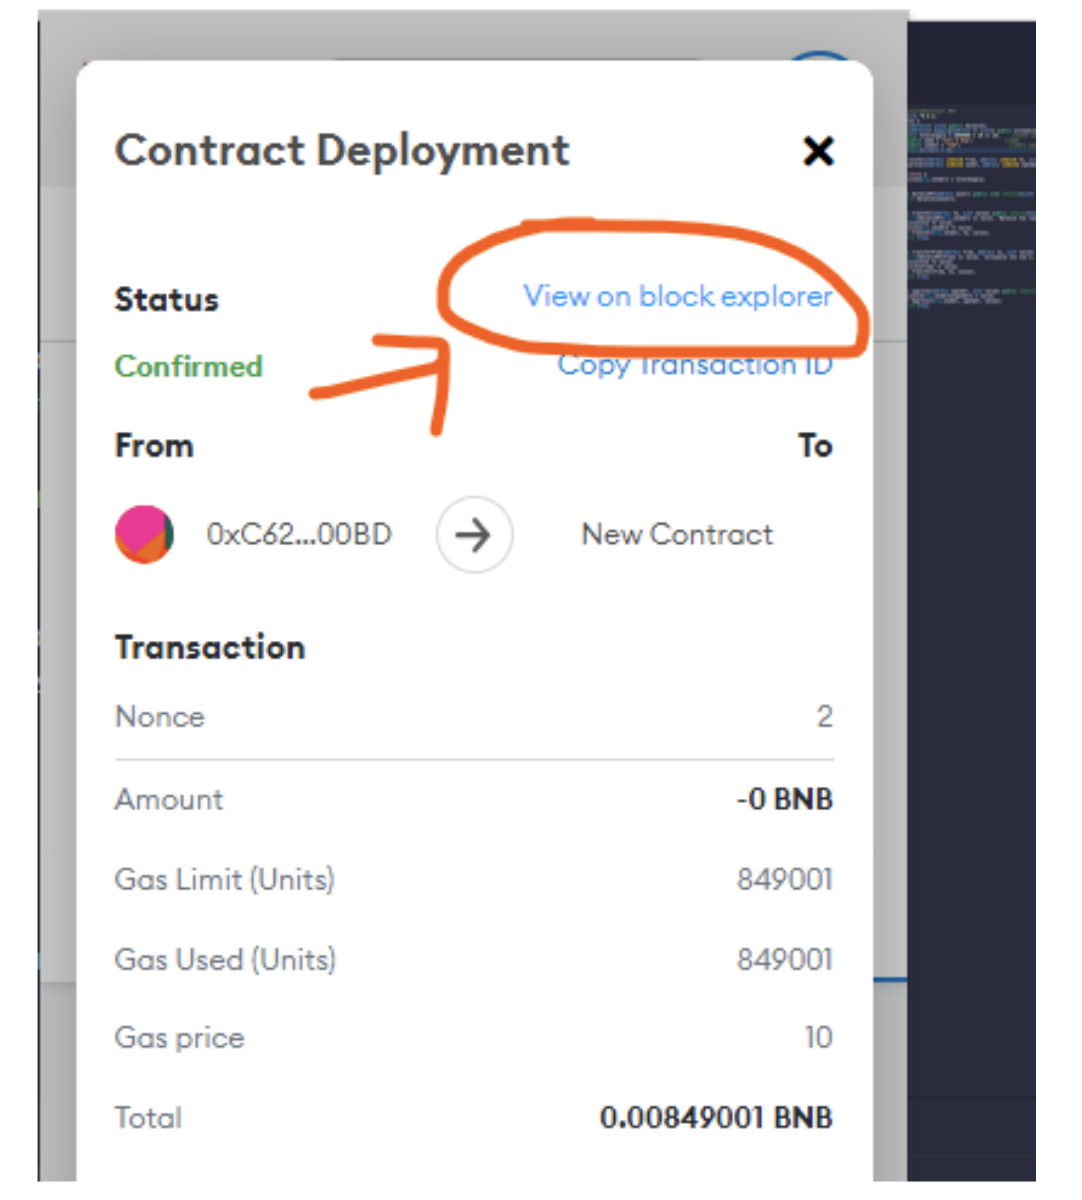
On the page top you will get the contact address:
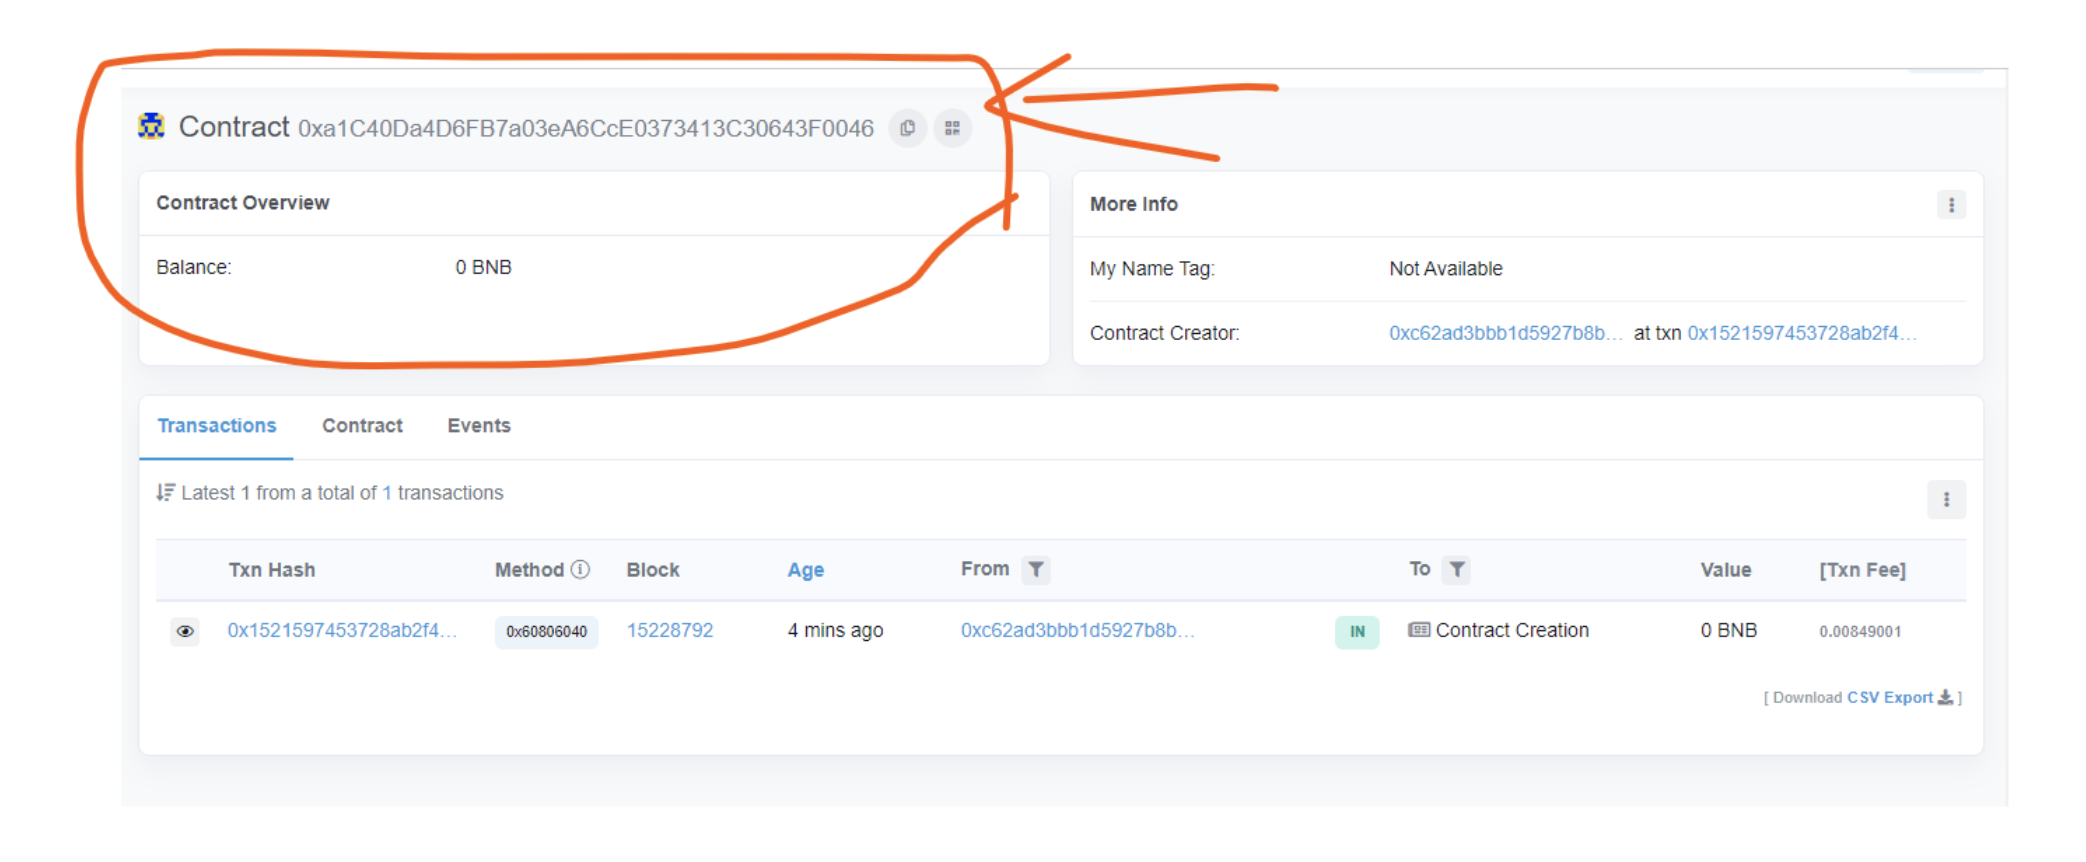
Make a note of this address. In the next module, we will discuss how we can add this token to any wallet and send it from one to another wallet
Contract address= 0x8ad271b0ee31f7ab93e48d937c1479b45660e861
NEW contract CAFE: 0xc8a09480dfbd39381b30d1b1bebc12ee0a407222
My wallet
0xC62AD3BBb1d5927B8B09241f36d359a2F05600BD
Adding Liquidity:
>> Go to https://pancakeswap.finance/
>> Connect The Wallet:
